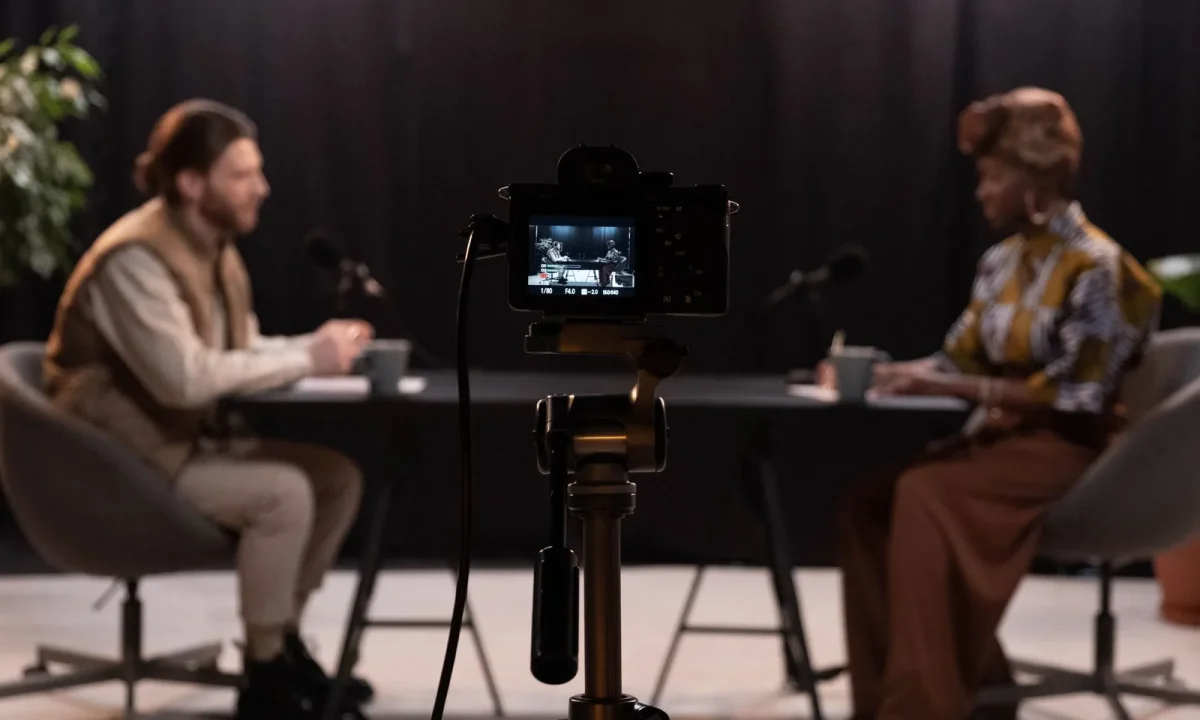
Interviews reward preparation, but reading questions while staying natural on camera is harder than it looks. A teleprompter for interviews quietly solves that problem by placing scripts, questions, or talking points exactly where your eyes already need to be. This guide explains what the setup is, the hardware and software behind it, and the practical steps to make it feel invisible to your audience.
What Is a Teleprompter for Interviews?
Definition and core purpose
A teleprompter for interviews is any device that reflects readable text into your direct line of sight while you speak with a guest or host. At its core, it exists to remove the small cognitive tax of remembering your next question, your exact phrasing, or a statistic you cannot afford to misquote. Instead of glancing down at cue cards or a laptop screen — gestures that break eye contact and read as distraction on camera — you look at the person in front of you and the words appear almost as if they were floating there. The result is a conversation that feels continuous and attentive, even when you are carefully following an outline. In short, the prompter carries your structure so your attention can stay on the human being across the table.
How it differs from a teleprompter for presentations
The main difference lies in content length and reading rhythm. A teleprompter for presentations usually holds a long, continuous script that you read straight through, often aimed directly into the camera lens so the audience feels addressed. An interview prompter, by contrast, holds short bursts: a two-line opener, a pointed follow-up, a name or figure you need to state precisely. You read these in quick glances between questions rather than in one unbroken stream. That distinction shapes everything else — the script density, the scroll speed, and even how high you set the glass. Understanding it early prevents you from importing presentation habits into a conversational setting where they would sound stiff.
Why interviewers and guests use one
Interviewers use a prompter to stay on schedule without visibly consulting notes, which keeps the pacing tight and the edit cleaner. Guests use one to remember talking points, credentials, or product names they might otherwise garble under lights and pressure. Producers favor the setup because it reduces flubbed lines and shortens post-production, since fewer retakes are needed to capture a clean answer. Even in relaxed formats, the prompter adds a layer of confidence: nothing derails a conversation faster than realizing you forgot the one question you were supposed to ask. Once both parties trust the system, the interview feels improvised even when it is carefully structured.
How a Teleprompter Actually Works
Beam-splitter glass and reflected text
The heart of almost every interview prompter is beam-splitter glass — a semi-transparent mirror that reflects roughly half the light hitting it while letting the rest pass through. A screen placed below or beside the glass displays your script in reverse, and the glass flips that image back so it appears upright to you. Meanwhile, the camera sits directly behind the glass and shoots through it, seeing your guest or your own face with no text at all. Because you are looking at the same place the lens is, your eyes appear locked on camera while you are actually reading. It is a simple optical trick, but it is what makes the device genuinely invisible to viewers.
Scrolling software and remote control
Software moves the text upward at a pace you set, either through a dedicated prompter app or a general video tool with teleprompter mode. Most apps let you adjust font size, line width, background contrast, and margin spacing so you never have to jump your eyes across a wide line. Control comes from a wired remote, a Bluetooth clicker, or even voice tracking that follows your speech in real time. Some setups let a producer adjust speed while you talk, which is especially useful in live or one-take interviews. Whatever the interface, the goal is the same: keep the text flowing smoothly enough that you never notice it moving.
Eye-line, distance, and reading position
Eye-line determines whether the effect works or falls apart. The glass should sit so that reading a line places your gaze within a few degrees of the camera lens; too low and your eyes visibly drop, too high and you appear to stare above the audience. Distance matters as well: text read from about 1.5 to 2.5 meters tends to feel natural, while very close reading often causes noticeable micro-eye movements. Your reading position should be relaxed — head still, eyes doing the work — because physical drift is what gives prompter use away. Test these positions before recording, not during.
Types of Setups for Different Interviews
Desktop and studio rigs for one-on-one interviews
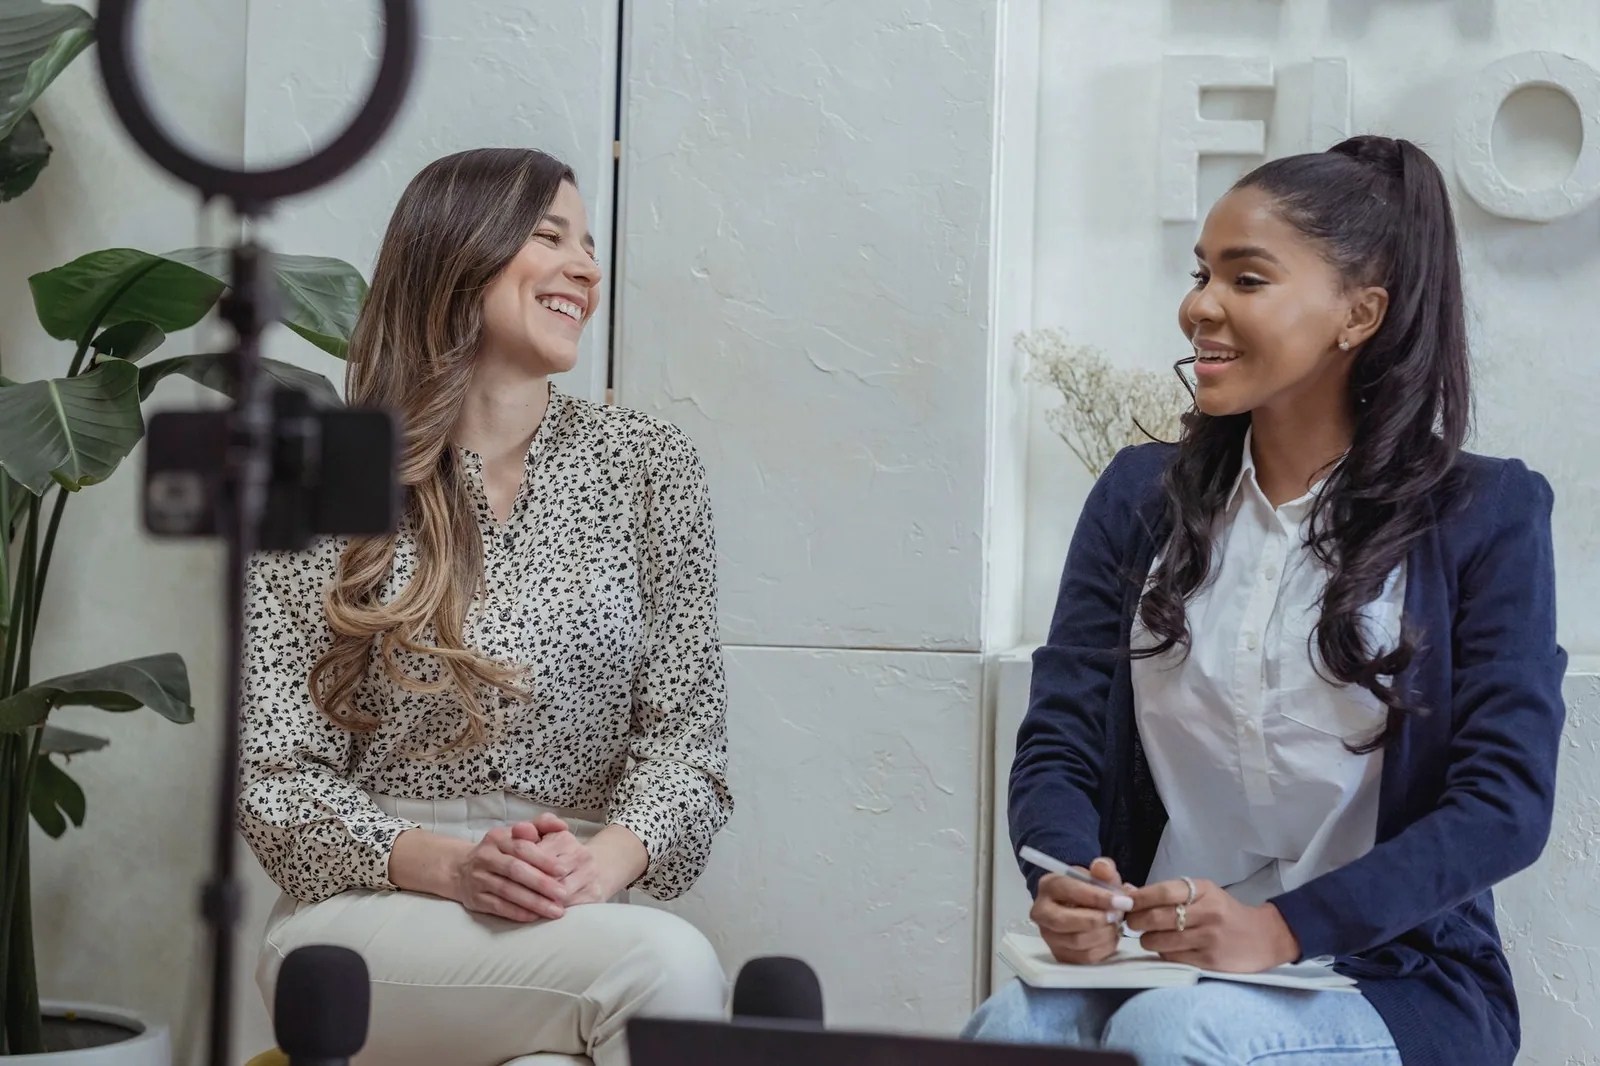
Studio rigs are the most comfortable option for seated, one-on-one interviews. A floor-standing or desktop prompter places the glass at eye level directly behind the camera, and a large monitor below carries generous, high-contrast text. Because everything stays fixed, you can rehearse the exact eye-line you will use on recording day. This setup also suits two-camera interviews, where a second prompter can face the guest. If you shoot in a controlled room with consistent lighting, a studio rig gives you the most forgiving margins for script length and scroll speed.
On-camera and field kits for run-and-gun shoots
Field kits mount a small hood and glass directly onto the lens, turning any camera into a self-prompting rig. They trade screen size for portability, which means shorter lines and larger fonts become essential. These are ideal for street interviews, trade-show segments, or rapid documentary work where you cannot haul a stand. The trade-off is that your script must be leaner — the small display will not tolerate dense paragraphs. Bring a phone or tablet as a backup, and rehearse the eye-line in the actual location, since changing lighting can affect how clearly you see the reflected text.
Tablet, phone, and laptop-only options
You do not always need glass. A phone or tablet propped just beside the lens, running a scrolling app, can approximate the effect for casual interviews and remote calls. The trick is positioning the device as close to the camera as possible so your eye drift stays minimal. Laptops work for seated web interviews where the camera sits on top of the screen; placing your script in a window near the webcam keeps your gaze nearly centered. These options are inexpensive and fast to set up, and they are often the smartest starting point before investing in hardware.
Teleprompter for vlogging: reusing the same gear
The same glass and mount you use for interviews usually converts directly into a teleprompter for vlogging, since both formats read toward a camera. The difference is content: a vlog script tends to be longer and more narrative, while an interview script stays in fragments. If you plan to shoot both, keep two script templates — one dense, one skeletal — so you can switch formats without rebuilding your settings. This dual use is one of the strongest arguments for buying modular hardware that accepts different screens and brackets.
What Belongs on Your Interview Prompter
Questions, openers, and follow-up prompts
Your prompter should hold the skeleton of the conversation: the opening line, your sequence of questions, and the follow-up prompts you tend to forget under pressure. Write questions exactly as you intend to say them, because paraphrasing on the spot often softens their edge. Include brief cues such as “let them finish” or “push once more” if you tend to cut guests off. Keep each block to one or two lines so you can absorb it in a single glance. The structure is there to guide you, not to script your reactions.
Key data points you must not misquote
Numbers, dates, titles, and proper names are the highest-value items on the screen. A misquoted figure can damage credibility or, worse, end up as a correction after publication. Place these values on their own line with clear spacing so you cannot skim past them. If a statistic matters, write it in the exact wording you plan to speak, including units and time frames. This is where a prompter quietly outperforms memory, especially in long recording days.
What to leave off the screen
Leave off full answers, marketing copy, and anything you would never say naturally in conversation. Long verbatim blocks push you into a reading voice and make your eyes move in a pattern viewers can detect. Also avoid jargon you would not use with a friend — if it looks awkward typed out, it will sound worse spoken. As a rule, if a line does not fit on the screen in a readable font size, it is probably too long for the moment.
Step-by-Step: Setting Up Before You Record
Write the script in short spoken lines
Begin by writing for the ear rather than the eye: short sentences, contractions, natural rhythm. Break compound questions into two separate lines so you never read a wall of text. Read the script aloud once — anything you stumble over needs rewriting, not faster scrolling. Add clear paragraph breaks between sections so your eyes can find their place instantly after looking away. This single editing pass will improve your delivery more than any hardware upgrade.
Load and mirror the text
Paste your script into the prompter app and enable mirroring, which reverses the text so it reads correctly once reflected in the glass. If your setup places the screen beside the glass rather than below it, you may need a horizontal flip instead — check with a quick test line. Confirm that line length matches the width of the glass so no characters are cut off at the edges. Save a preset for font size and contrast so future sessions start from a known baseline.
Adjust scroll speed and font size
Set the font large enough to read comfortably from your actual seating position without squinting, then set the speed so you finish one line just as the next reaches the top. If you rush, slow the scroll down; if you fall behind, shorten the sentences rather than speeding up. Most apps let you set a margin above the text so you are not reading from the very top edge of the screen. Adjust one variable at a time and re-read a paragraph aloud after each change.
Frame the shot and test the eye-line
Finally, frame your shot and sit in your real position. Have someone watch your eyes on the monitor while you read — if your gaze visibly drops or rises, raise or lower the glass until your eyes stay level with the lens. Record a ten-second test and play it back at normal speed; problems that feel subtle in the room become obvious on screen. Check that the camera cannot see the screen and that no reflections appear in the glass. Only after these checks should you press record.
If you want a deeper foundation for the mechanics and habits behind all of this, our guide on Mastering Teleprompter Usage walks through the fundamentals that apply across every format. For a fuller treatment of the interview workflow specifically, see How to Use a Teleprompter for Interviews: A Complete Guide.
Common Mistakes and How to Avoid Them
Reading too fast and losing conversational tone
The most common issue is pace: when text scrolls quickly, speakers speed up and the interview starts sounding like a read announcement. Slow the scroll, insert pauses marked in your script, and remind yourself that silence is comfortable on camera. If you notice yourself inhaling between words rather than between sentences, your speed is too high. A conversational pace also gives guests time to respond naturally, which improves the whole exchange.
Script density that is too heavy
Overloading the screen forces you to skim, which produces a flat, distracted delivery. If more than three or four lines are visible at once, you are probably carrying too much text. Cut secondary points, move them to a producer’s brief, or split the interview into segments. Density is the silent enemy of eye contact — lighter scripts almost always produce warmer footage.
Wrong glass height causing visible eye drift
When the glass sits too low or too high, your eyes drift off-lens and attentive viewers will sense that you are reading something. Re-measure by aligning the center of the text with the center of the lens, then verify on playback rather than trusting your instincts in the moment. Small adjustments of a few centimeters make a large difference in perceived naturalness. This is also where a studio rig outperforms ad-hoc phone setups.
Skipping a rehearsal pass
A full rehearsal exposes pacing problems, awkward phrasing, and eye-line errors before they cost you recording time. Treat the run-through as part of setup, not an optional extra — five minutes of practice routinely saves twenty minutes of retakes. Rehearse the transitions between sections, since those are where speakers most often lose their place. If you are working with a guest, do a quick joint rehearsal so both of you know when the questions arrive.
Interviews, Presentations, and Vlogging Compared
Reading direction and audience engagement
In an interview, your gaze alternates between the guest and short glances at the script, and the audience reads that as active listening. In a teleprompter for presentations, you typically read continuously toward the lens, which projects authority and direct address. Vlogging sits in between: longer passages read to camera, but with a casual, personal tone rather than a formal delivery. Knowing which pattern you are aiming for determines how you write and how fast you scroll.
Where the camera sits in each scenario
Interview rigs usually place the prompter behind a camera that faces you from across the table, with the guest’s eyeline deliberately offset so you can look at them and still read. Presentations put the camera dead ahead, making lens alignment critical. Vlogging setups are closest to the presentation model but often use smaller, on-camera glass because the framing is tighter. Understanding these placements helps you reposition quickly when your project changes.
Switching one rig across formats
Most modern hardware is modular, so one beam-splitter and mount can serve interviews, presentations, and vlogs with a change of screen and bracket. What really changes is the script and the eye-line target, not the equipment. If you shoot across formats regularly, keep a checklist that covers mirroring, font size, and glass height for each scenario. Exploring formats side by side is worth your time — resources like The Ultimate Guide to Using a Teleprompter for Vlogging and Understanding Teleprompters for Video Formats: A Complete Guide show how the same principles shift between use cases.
Related reading can sharpen each piece of the workflow: How to Use a Teleprompter for Various Video Formats Effectively covers configuration across formats, while Practical Ways to Use a Teleprompter for Video Formats offers hands-on applications. For planning, Which Teleprompter for Video Formats Fits Your Project? helps match gear to scope, and Teleprompter for Video Formats: A Step-by-Step Workflow lays out an end-to-end process. Keep quality high with Maximizing Your Teleprompter for Video Formats: Best Practices, and sidestep predictable pitfalls in Avoiding Common Mistakes with Teleprompters for Video Formats.
Conclusion
A teleprompter for interviews works because it removes the split attention between remembering your questions and connecting with your guest. Once the glass is aligned, the scroll speed is comfortable, and the script is written for the ear rather than the eye, the device disappears from the conversation. The same principles carry across formats: whatever you are recording, success comes from a lean script, a verified eye-line, and a pace that sounds like a person talking rather than a page being read.
Start with a simple rehearsal, adjust one variable at a time — font size first, then speed, then glass height — and the setup will quickly feel like part of your standard workflow. If you have never used one before, build a short test session this week, watch the playback, and make one correction. Within a few takes, reading will feel as natural as asking the question yourself.
Frequently asked questions
Can the other person tell you are using a teleprompter during an interview?
Usually not, if the text sits close to the camera lens and you scroll at your natural speaking pace. The giveaway is eye movement: reading long passages makes your eyes track side to side or pause at line breaks. Keeping prompts to short bullet points rather than full sentences is what makes the delivery look conversational.
How do you use a teleprompter for a remote or video-call interview?
Place a prompter app or a mirrored text window directly beside or behind your webcam, then reduce the window width so your eyes barely move away from the lens. Full-screen teleprompter software that overlays text near the camera works better than sharing a document on a second monitor. Test the setup with a short recording first to confirm your gaze stays centered.
Does reading from a teleprompter make answers sound scripted?
It can, if you write full sentences and read them verbatim. Working from short keyword cues instead of prose keeps your tone natural while still keeping you on topic. The same applies to pacing: a scroll speed matched to your speaking rate avoids the rushed, monotone effect people associate with scripted answers.
What is the difference between a teleprompter and cue cards in an interview?
Cue cards are static and typically placed off-axis, so they tend to pull your eyes away from the camera or the interviewer. A teleprompter scrolls continuously in sync with your speech and, in hardware form, reflects text onto glass in front of the lens so your gaze never leaves the camera. For short interviews, cards can be enough; a prompter earns its keep in longer or more structured segments.
Can you use a teleprompter for live interviews, or only pre-recorded ones?
Both, but the constraints differ. In pre-recorded sessions you can stop and re-record if the scroll drifts out of sync, whereas live interviews require a second person to adjust the scroll speed in real time or an auto-scroll mode tuned to your pace. Live use is safest when the script is a rough outline you can improvise around if the conversation shifts.
What scroll speed and text size should you set for interview prompts?
Start at roughly 130-150 words per minute, which is close to a relaxed conversational pace, and increase only if you consistently finish lines ahead of the scroll. Text large enough to read at arm’s length without leaning in keeps your posture and eye line stable. Many apps let you fine-tune speed on the fly, so rehearse once to find the setting where you stop noticing the movement.
Recording with a script? Try Lumi.
Keep your script near the camera and out of your final video. Try free for 3 days.
Learn more