Feeling nervous before a take is normal, even for seasoned creators, educators, and public speakers. The good news is that confidence is a skill you can train, and a teleprompter can become a partner in that training instead of a distraction. This guide gathers practical confidence tips for presenters that connect preparation, body language with teleprompters, and simple strategies for overcoming anxiety, so every recording starts from a calmer, more assured place.
Why Confidence Starts Before the Camera Rolls
Confidence is often treated as a personality trait you either have or you do not, but on camera it behaves much more like a physical skill: it improves with repetition, warm-up, and the right conditions. Anxiety tends to spike when uncertainty spikes, and most uncertainty lives in the moments before you press record. If you do not know how the script sounds out loud, if you are unsure whether your framing looks right, or if you have never tested your lighting, your brain fills those gaps with worry. Remove the gaps and the worry has far less to feed on. That is why the strongest presenters treat their pre-recording period as part of the performance rather than as dead time.
Preparation as an antidote to nerves
Preparation works because it converts an unknown event into a familiar one. When you have read your script aloud several times, checked your audio, confirmed your framing, and cleared notifications, you have already “performed” the session in your head and in your room. The actual take then feels like the fifth or sixth round rather than the first, and nervousness drops measurably. Build a short checklist you run every time, so the ritual itself becomes a signal to your body that you are ready. If you want a structured starting point, this guide on how to build on-camera confidence before you hit record walks through the same idea in more detail.
How script familiarity builds assurance
Familiarity with your words is the single highest-leverage confidence builder available, because it frees attention. A presenter who is still decoding sentences has no mental bandwidth left for tone, facial expression, or connection with the viewer, and that internal strain is visible on screen as stiffness. Practicing until your phrasing feels conversational lets you shift your focus outward, toward the audience, which is where engagement lives. You do not need to memorize every line when you have a prompter, but you should know the shape of the script: where it opens, where the key points land, and how it closes. That structure acts as a safety net, so a lost place becomes a small stumble rather than a collapse.
Setting a realistic pre-recording routine
A routine should be short enough that you will actually do it, and specific enough to be repeatable. Ten minutes is usually plenty: two minutes of breathing and light stretching, three minutes of reading the script aloud at speaking pace, one minute to review your framing and lighting, and a final minute to silence your phone and take a slow breath before rolling. Avoid cramming new edits into your script during this window, because last-second changes reintroduce exactly the uncertainty you are trying to remove. Consistency matters more than duration; the same sequence, repeated daily, teaches your nervous system that recording is a safe and predictable activity.
Confidence Tips for Presenters That Work With a Teleprompter
A teleprompter is often blamed for robotic delivery, but the device is rarely the problem. Poor settings and a mismatched workflow are what make reading feel mechanical. When the scroll speed, text size, and script structure are tuned to you, the prompter fades into the background and simply holds your wording steady so you can perform. The following confidence tips for presenters are the ones that most reliably turn a teleprompter from a source of pressure into a genuine support system.
Pacing your scroll to your natural speaking rhythm
Scroll speed should serve your voice, not the other way around. If the text moves too fast, you will rush, your breathing will shorten, and your pitch will climb as you chase the next line. If it moves too slowly, you will stall, over-enunciate, and lose momentum. Set the speed during a practice read while you are relaxed, then adjust in small increments. Most prompter apps let you control speed manually with a foot pedal or keyboard, and taking manual control is often better than autoscroll because you can slow down naturally on complex sentences and speed up through transitions.
Breaking scripts into short, memorizable beats
Long unbroken paragraphs on screen encourage word-for-word reading, which flattens your delivery. Instead, break your script into short beats, each carrying one idea, separated by a line break. Beats give your eyes a natural landing point and let your brain process meaning instead of decoding text. They also make recovery far easier, because if you stumble you can glance at the next beat rather than scanning a wall of text. If you want a deeper treatment of script design, our pillar on creating engaging content with teleprompters covers structure, phrasing, and rhythm in depth.
Practicing a full run-through without the device
Before you ever use the prompter for a real take, read the script through once from paper or from memory. This sounds counterintuitive, but it does two useful things. First, it exposes sentences that do not survive being spoken aloud, so you can fix them before recording. Second, it gives you a sense of the script’s arc that the prompter cannot provide, which makes the on-screen version feel like a refinement rather than a lifeline. Many presenters find their first prompter take after an off-device run is noticeably calmer and more natural.
Using pause markers to stay in control
Insert explicit pause markers into your script, such as slashes or blank lines where you intend to stop. Pauses give you a moment to breathe, reset your expression, and emphasize what came before. They also slow the overall read, which counters the rushed feeling that feeds anxiety. When a pause is planned, it reads as confident pacing; when it is unplanned, it reads as hesitation. Writing the pause into the script turns a vulnerability into a deliberate performance choice.
Body Language With Teleprompters: Staying Open and Engaged
Viewers forgive imperfect words far more readily than they forgive disengaged body language. The risk with a prompter is that attention drifts inward toward the text, and posture, eye contact, and gestures all suffer. Keeping your body open and expressive while reading is a trainable habit, and it starts with equipment placement rather than willpower. For a broader treatment of posture, gesture, and expression, see mastering body language with teleprompters: a complete guide.
Eye-line placement so your gaze reads as natural
Place the prompter as close to the camera lens as physically possible, ideally with the glass directly in front of the lens. The further your reading position sits from the lens, the more your eyes will look off to the side, and viewers read that as distraction. Enlarge the text so you are not hunting across the screen, and use a reading window that sits in the upper third of the display so your head stays lifted. When in doubt, film a ten-second test and watch your own eyes back; it is the fastest way to know whether your setup actually reads as direct.
Shoulders, hands, and posture while reading
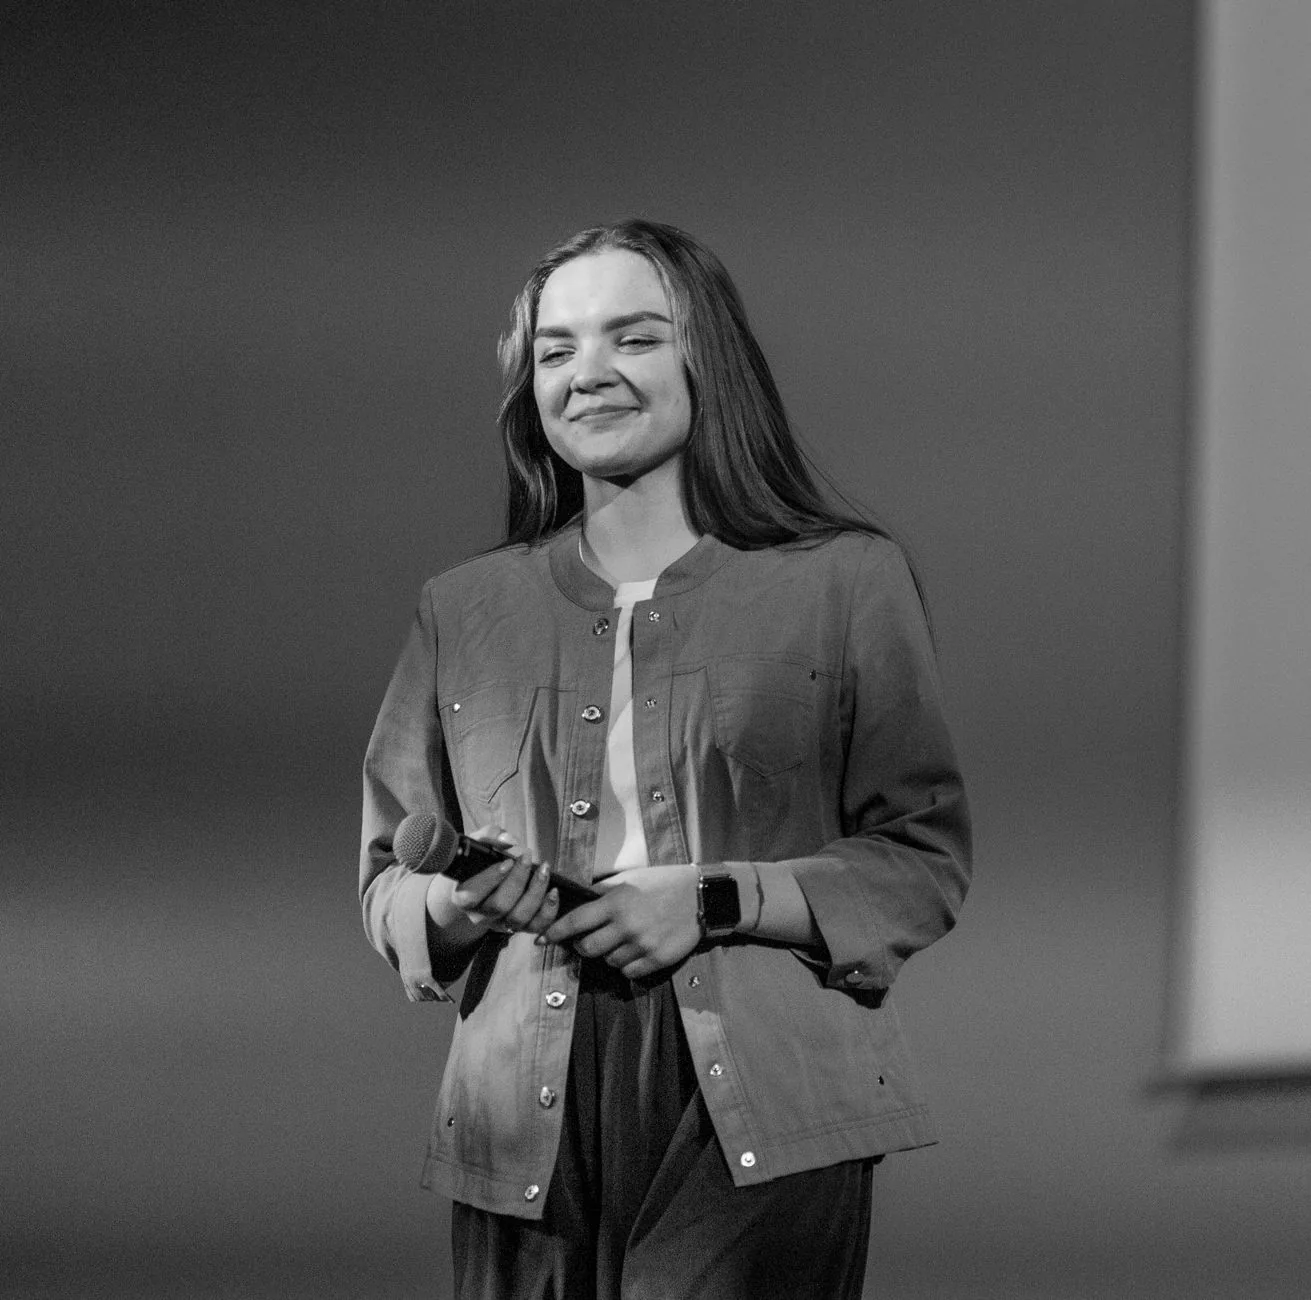
Reading tends to pull the shoulders forward and lock the neck, creating a closed shape that signals discomfort on camera. Counter this by standing or sitting tall with your chest open and your shoulders rolled back before you start. Keep your hands visible and at roughly waist height, because invisible hands read as nervousness while frozen hands read as rigidity. A simple check before each take: drop your shoulders, unclench your jaw, and let your arms hang loose for a moment before bringing them into frame.
Gestures that support your message instead of competing with it
Gesture should follow meaning, not fill silence. Mark two or three moments in your script where a gesture naturally belongs, such as counting points on your fingers or opening your hands to introduce a new idea, and let the rest of the delivery stay quiet. Oversized gestures near a wide-angle phone lens can look distorted, so keep movements within a comfortable band. If you are unsure what reads well, record a practice take with exaggerated gestures and then one with restrained gestures; comparing the two is more instructive than any abstract advice.
Avoiding the frozen look of reading word for word
The frozen look appears when your face is doing nothing because your brain is fully occupied with text. The fix is preparation plus pacing: know the script well enough that you are anticipating meaning, and slow the scroll enough that you have surplus attention. Smile slightly between sentences, move your eyebrows with emphasis, and allow your head to tilt naturally as you shift topics. If you notice yourself staring, it usually means the scroll is too fast or the text is too dense, not that you lack presence.
Overcoming Anxiety: Techniques You Can Use in the Moment
Even with excellent preparation, some nerves will show up on recording day, and that is not a failure. Anxiety is physiological before it is psychological, which means it responds to physical interventions faster than it responds to positive thinking. The techniques below are deliberately small, private, and fast enough to run between takes. For a longer treatment of presentation anxiety, read strategies for overcoming anxiety in presentations with teleprompters.
Breathing exercises that lower physical tension
Slow diaphragmatic breathing is the quickest lever you have, because it directly slows the stress response. Inhale through your nose for a count of four, let your belly expand, hold briefly, and exhale for a count of six. Six to eight cycles are usually enough to soften your shoulders and unclench your jaw. Pair the breathing with small movements such as shoulder rolls or a gentle neck stretch, because tension accumulates in exactly the muscles that camera framing exposes.
The power of a warm-up take you never publish
Commit to recording a warm-up take that you will delete. It does not have to be good, and it is not supposed to be. Its purpose is to break the spell of the “real” take, let your voice find its working pitch, and give you one complete performance under your belt. Most presenters report that their second or third take is dramatically better than their first, so treating take one as disposable converts pressure into a runway.
Reframing nerves as excitement
Arousal from nerves and arousal from excitement feel nearly identical in the body: racing heart, quick breath, heightened alertness. The label you assign changes how you perform, so telling yourself “I am excited” tends to work better than trying to calm down, which can feel impossible mid-session. Combine the reframe with a short statement of intent, such as “I am here to explain this clearly,” which gives the adrenaline somewhere useful to go.
Small resets between takes to clear mistakes
Do not chain takes back to back without resetting, because frustration compounds. After a bad take, stand up, shake out your hands, take three slow breaths, and say one neutral sentence aloud to clear your vocal tension. Physically stepping out of frame for even fifteen seconds helps your brain mark a boundary between the failed take and the new one. If you find that mistakes reliably derail you, this article on where on-camera confidence breaks down and how to recover maps the common failure points.
Building a Supportive Recording Environment
Your room is a silent partner in every take. When the environment is comfortable and technically predictable, a large share of anxiety simply never appears, because there is nothing left to worry about. Treat setup as an investment that pays off every session rather than a chore you redo from scratch each time.
Lighting, sound, and framing that make you feel comfortable
Good lighting does more than improve image quality; it lets you see your own face clearly, which removes the low-grade uncertainty of not knowing how you look. Position a soft light in front of you rather than behind you, and frame yourself so your eyeline sits near the upper third. Sound matters even more than picture for perceived confidence, so use an external microphone or at least move closer to your device’s mic. Once your image and audio sound good, you stop monitoring yourself and start performing, which is exactly the shift you want.
Choosing between a phone, tablet, or desktop prompter
There is no universally correct device; the right choice is the one you will operate calmly. Phones are portable and easy to mount near the lens, which supports natural eye contact, but their smaller screens demand larger text. Tablets give you more reading room at the cost of bulkier mounting. Desktop setups with camera-mounted glass produce the most professional gaze, and our guide to step-by-step on-camera confidence with a teleprompter covers how to choose and configure them. Test each option for a week before committing, and judge by how little you think about the equipment during a take.
Getting crew or AI teleprompter features out of your way
Autoscroll that tracks your voice, voice-control commands, and hands-free speed adjustment can all reduce cognitive load, but only if they are reliable. Nothing erodes confidence faster than a feature that misfires mid-sentence. Test every automatic feature during your warm-up take, and be ready to fall back to manual control if it misbehaves. If you are recording alone, automation replaces a crew member and removes the self-consciousness of having someone watch you stumble; if you have a crew, agree on simple hand signals so nobody has to speak between takes.
Practice Drills That Strengthen Delivery Over Time
Confidence built on a single good session is fragile, while confidence built on dozens of sessions becomes part of how you operate. The drills below are designed to be small, daily, and progressive, so improvement compounds without consuming your schedule. They also pair well with a broader routine; our guide to essential confidence tips for presenters offers complementary exercises for tone and stage presence.
Daily read-aloud sessions with escalating complexity
Read aloud for five to ten minutes every day, starting with simple material such as a news summary and gradually moving to your own scripts. Escalating complexity means adding pauses, emphasis, and gestures as the material gets harder, so you are training control rather than just fluency. Use your prompter for part of the session and paper for the rest, which keeps you comfortable in both modes. Over weeks, this drill makes the act of reading aloud feel ordinary, which is the state you want before you hit record.
Recording short daily videos to normalize being on camera
Record one sixty-second video every day with no intention of publishing most of them. The point is exposure: repeated contact with the lens teaches your nervous system that the camera is not a threat. Rotate the focus across the week, such as eye contact on Monday, gestures on Tuesday, and pacing on Wednesday, so each session has a single measurable goal. Over time, you will notice your first take of the day improving, which is one of the clearest signs of durable progress. Our broader piece on boosting on-camera confidence: essential tips for success expands on this habit.
Reviewing footage with a confidence-focused checklist
Reviewing your own footage is uncomfortable, but reviewing it with a checklist makes it useful rather than punishing. Score yourself on four or five fixed items such as eye contact, shoulder tension, filler words, pace, and whether your gestures matched your points. Because the criteria are consistent, you see trends instead of isolated bad moments, and trends are what reveal genuine growth. Limit review sessions to ten minutes, because endless analysis feeds the inner critic without producing action. If you want a curated checklist to start from, our companion article on enhancing on-camera confidence: practical tips for success provides one.
Confidence on Stage: Transferring Skills to Live Presentations
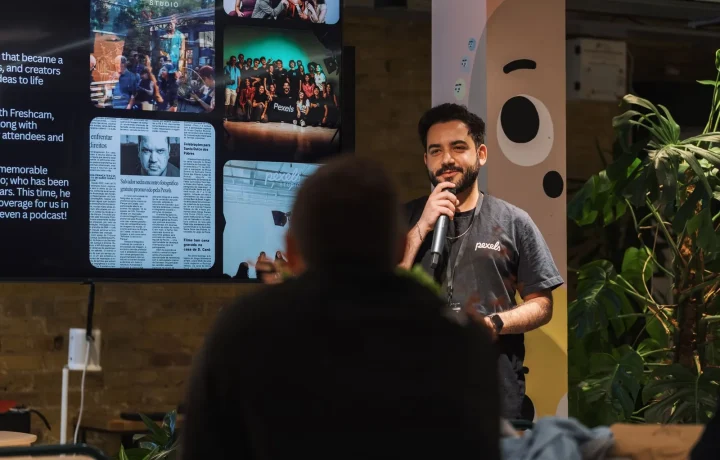
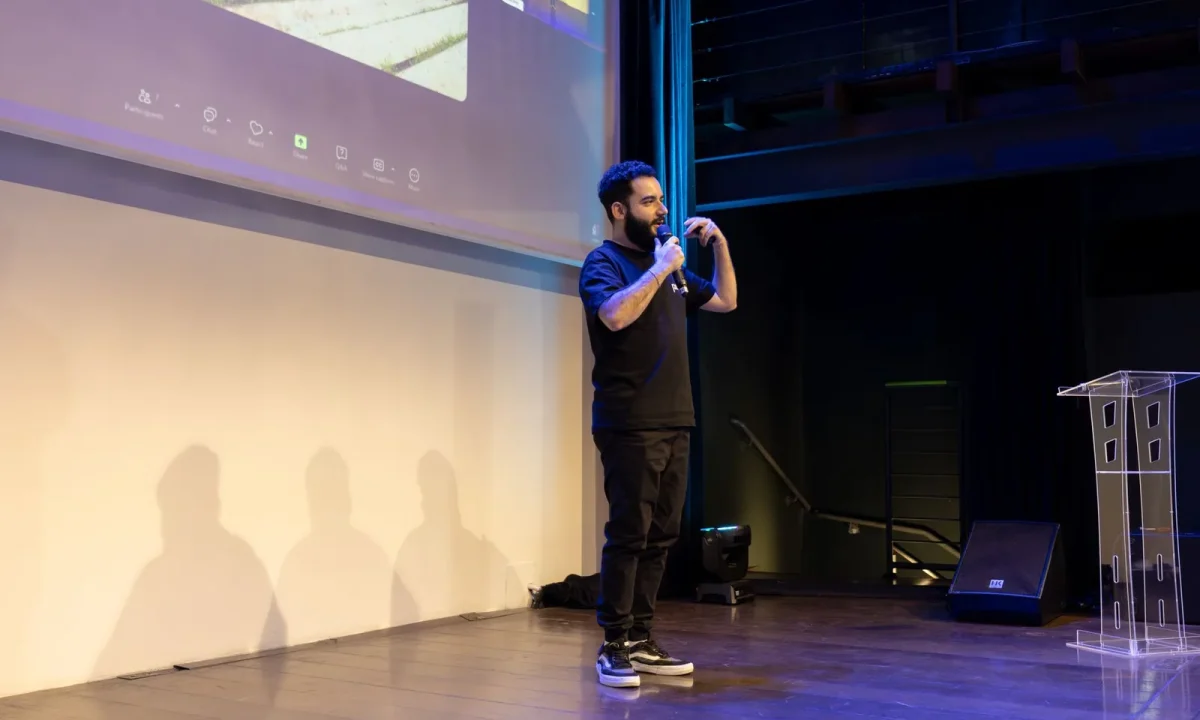
Everything you build for the camera transfers to live presenting, which is one of the most motivating facts about this training. The audience in a room is larger than a lens, but the underlying skills are identical: preparation, breath, eye contact, and recovery. Presenters who practice on camera often find live stages feel easier, because they have already rehearsed the hard parts in private.
From prompter screen to audience eye contact
On camera you aim your gaze at the lens; in a room you aim it at people, and the underlying skill is the same deliberate placement of attention. Practice scanning between prompter beats and specific audience members, holding eye contact for a full sentence before moving. When you do glance at a screen or notes, keep the pauses brief and your body open toward the room, so the screen reads as a reference rather than a hiding place. This rhythm of reading, then connecting, is exactly what keeps a live talk from feeling like a recital.
Handling blanks or lost place without panic
Every speaker loses their place eventually, and audiences rarely notice unless the speaker signals distress. Train a recovery protocol in advance: stop, take one slow breath, glance at your notes, and resume from the last complete sentence. Because you have rehearsed this recovery on camera, it will feel familiar rather than catastrophic in front of a room. Keeping a printed outline as a backup to any screen adds another layer of insurance.
What live practice adds to your recorded confidence
Live audiences give you immediate feedback that no camera can match: laughter, nodding, shifting attention. Learning to read those signals builds an adaptability that enriches your recorded work too, because you begin anticipating where viewers will lean in or tune out. Alternating between live talks and recordings creates a virtuous loop, with each format sharpening the other. If you are building a full practice plan across both settings, boosting on-camera confidence: tips for presenters and speakers offers a framework, and boosting on-camera confidence: essential tips for presenters covers additional drills.
Conclusion
Confidence on camera is less about personality and more about repeatable habits. When you pair solid preparation with the right teleprompter settings, intentional body language with teleprompters, and small techniques for overcoming anxiety, nerves lose their grip. You do not need a personality transplant or a perfect script; you need a routine you trust, a prompter configured to your rhythm, and a handful of physical cues that bring you back to calm when a take goes sideways. The presenters who look effortless are usually the ones who have simply rehearsed the same calm enough times that it became automatic.
Start with one or two tips from this guide rather than all of them at once, and practice them until they feel automatic before adding more. A reasonable first week is a warm-up take before every recording, one breathing exercise between takes, and a ten-minute review with a checklist afterward. Small, consistent repetitions build the kind of confidence that survives a long recording day, and the same habits will serve you just as well when you step in front of a live audience.
Frequently asked questions
Should I memorize my presentation word for word to feel more confident?
No. Word-for-word memorizing makes you sound scripted and raises anxiety, because any forgotten word can derail you. Instead, memorize the structure — your opening line, three to four key points, transitions, and the closing — so you can recover from a stumble by simply jumping to the next anchor point.
How far in advance should I start rehearsing to build real confidence?
Start at least five to seven days out, with spaced practice sessions rather than one long cram. Rehearse in chunks across multiple days, and schedule at least one full run-through with a timer, ideally in front of a person or on video, so the delivery feels practiced rather than memorized.
What should I do if I freeze or lose my place during a presentation?
Pause instead of filling the silence with filler words — a deliberate two-second pause reads as composure, not failure. Then use a recovery move: restate your last key point aloud, say "Let me come back to that in a moment" and move to the next slide or section, or take a sip of water to buy time while your brain reloads.
Do power poses or other body language tricks actually improve presentation confidence?
The strong hormonal claims behind power posing have not held up in replication studies. What reliably helps is physical regulation before you speak: slow diaphragmatic breathing to lower heart rate, loosening your grip and shoulders, and moving around the room during the talk instead of standing locked behind a podium.
How can I sound confident when I’m still nervous on the inside?
Confidence on the outside is mostly pacing and volume. Slow down by about 20 percent from your normal speaking rate, start sentences at full volume and end them clearly instead of trailing off, and cut filler words like "um" by replacing them with silent pauses. Audiences judge composure from these cues far more than from how you feel.
Why hasn’t my speaking confidence improved even though I present often?
Repetition alone does not build confidence — unreflective repetition just reinforces old habits. After each talk, note one specific thing to change (for example, "I read the slides aloud") and one thing to keep, and get feedback from someone who watched you. Targeted adjustment is what converts experience into genuine stage confidence.
Recording with a script? Try Lumi.
Keep your script near the camera and out of your final video. Try free for 3 days.
Learn more