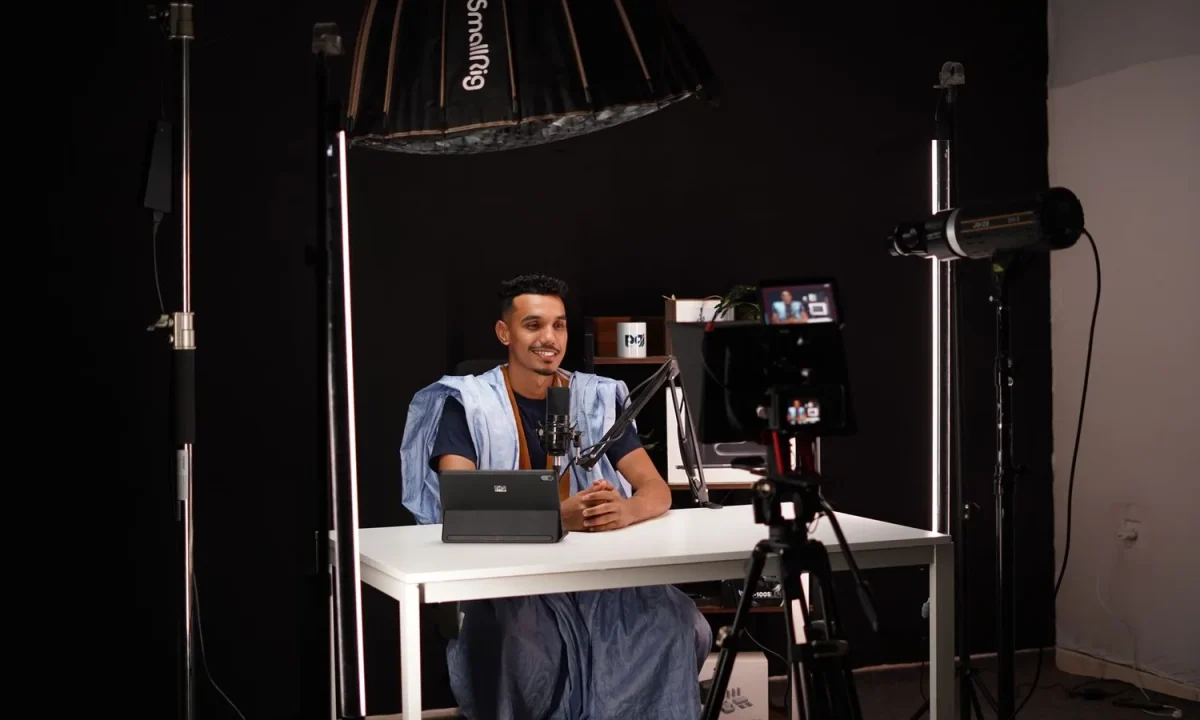
Interviews move fast, and even the most prepared creators can lose their thread when a question lands unexpectedly. A teleprompter for interviews gives you structure without sounding scripted — it keeps names, key points, and transitions in your line of sight while you stay engaged with your guest. This guide walks you through the entire process step by step, from planning your questions to reviewing your footage, and shows how the same workflow adapts to teleprompter for presentations and teleprompter for vlogging setups.
Why a Teleprompter Belongs in Your Interview Workflow
Many creators resist using a prompter during interviews because they associate reading with stiff delivery. In practice, a well-designed prompter does the opposite: it acts as a quiet safety net that lets you focus on listening rather than mentally rehearsing the next question. When the structure is visible to you, you stop burning cognitive energy remembering what comes next, and that freed-up attention goes straight into follow-ups and active listening. Audiences are far more attuned to confidence, pacing, and genuine engagement than they are to whether your eyes briefly drifted to a screen. A teleprompter for interviews works best when it supports the conversation instead of competing with it.
Keeping structure without sounding rehearsed
The key distinction is between scripting an interview and structuring it. A script fills the screen with complete sentences you are expected to recite, which immediately flattens your tone and makes interactions feel transactional. A structured prompter display shows question stems, bullet cues, and transition markers — fragments that remind you where you are without dictating exactly what you say. This keeps your language conversational because you are still composing sentences in real time, just with guardrails. Think of it as a roadmap rather than a teleprompter read: you know the destination, but you choose the words on the way.
Reducing on-camera anxiety for hosts and guests
Interview anxiety rarely comes from the questions themselves; it comes from the fear of forgetting one, mangling a guest’s name, or blanking on the closing call-to-action. Having those details visible removes an entire category of nervousness, because the failure mode you were dreading simply cannot happen. Guests benefit indirectly too — when the host is calm and clearly prepared, the atmosphere relaxes and answers become longer and more candid. This dynamic is well known to anyone who has hosted live sessions, and the same principle applies here: preparation shows, and it is reassuring. A prompter quietly signals to your guest that you know what you are doing.
Maintaining consistency across multiple interviews
If you produce a series — weekly founder chats, customer spotlights, expert panels — consistency becomes a production problem, not just an editorial one. Without a prompter, every episode depends on the host’s memory that week, which means openings drift, key sponsor messages get skipped, and closings sound different every time. A reusable prompter template standardizes the arc: same welcome structure, same transition beats, same sign-off. That consistency compounds over dozens of episodes, building a recognizable format your audience comes to expect. It also makes handoffs easier, because a producer can update a template rather than briefing a host from scratch.
Step 1: Plan Your Interview Structure First
Before you touch any teleprompter software, map the conversation on paper or in a document. Interviews feel unscripted, but the best ones follow a deliberate arc: an opening that establishes context, a core section that builds momentum, and a close that lands a clear takeaway. Planning first prevents the classic mistake of front-loading every interesting question and leaving nothing for the final minutes. It also tells you exactly what needs to appear on the prompter screen, because anything that lives in your head during production is a risk. Treat this planning stage as the editorial foundation, and the technical setup becomes much simpler afterward.
Defining the arc: opening, core questions, close
Your opening should accomplish three things in roughly sixty seconds: introduce the guest, state why the conversation matters, and hint at what viewers will learn. Your core section groups related questions into thematic blocks so the discussion flows logically rather than jumping between topics. The close summarizes one or two memorable insights and gives the guest a natural space for final remarks or a plug. Writing this arc as three labeled sections on your prompter gives you instant orientation — even if you glance at the screen mid-conversation, the section header tells you where you are. Guests notice this structure too, because well-paced interviews simply feel better to participate in.
Marking must-ask questions versus flexible ones
Not every question carries equal weight. Some are contractual — a sponsor mention, a legally required disclosure, a core topic your audience specifically requested — while others are conversational options you can drop if time runs short. Mark must-ask questions visually in your prompter file, using brackets, capital letters, or color coding depending on what your software supports. Flexible questions sit underneath, ready to deploy if the guest answers quickly or the energy dips. This marking system means that even if you skip a third of your planned questions, you never skip a critical one, which is precisely the insurance a teleprompter for interviews is meant to provide.
Writing notes your prompter can display clearly
Prompter displays have limited width and scroll continuously, so dense paragraphs become unreadable the moment they start moving. Keep each line short — most experts recommend roughly twenty-five to thirty-five characters per line for comfortable reading at typical setup distances — and use line breaks as visual pauses. Add cue markers like [PAUSE], [NAME: Dr. Amara Osei], or [SPONSOR] so critical moments are impossible to miss while scrolling. Avoid abbreviations you might misread under pressure, and spell out anything phonetically tricky directly in the text. The goal is a script that reads like a checklist, not an essay.
Step 2: Write a Prompter-Friendly Interview Script
With your structure defined, the next step is translating it into language the screen can carry. The scripting discipline overlaps heavily with what works for a teleprompter for presentations — short sentences, natural phrasing, clear breaks — but interviews need lighter text density overall. You are not delivering a monologue; you are glancing at cues between questions, so each screen element must be scannable in under two seconds. If you find yourself writing full paragraphs, you are writing for a speech, not a conversation. Trim until every line earns its place on the screen.
Short sentences, natural phrasing, and clear breaks
Write the way you speak when you are relaxed, not the way you write in emails. Contractions are fine, sentence fragments are fine, and a question stem like “Tell me about the moment you realized…” works better than a formal interrogative. Break your script into visual chunks with blank lines between them, because scrolling text without whitespace becomes a wall of characters that is hard to track. If you tend to read quickly, add extra line breaks; if you tend to rush, split long thoughts into two shorter cues. The right density is whatever lets you glance down, absorb the cue, and return your eyes to the guest in under a second.
Cuing names, titles, and pronunciation correctly
Nothing damages credibility faster than mispronouncing a guest’s name or fumbling their title on camera. Use your prompter as a pronunciation guide by writing phonetic hints directly in brackets next to the name — for example, [Osei: oh-SAY] — so the correction is available at a glance rather than in a panicked memory search. Do the same for company names, technical terms, and job titles, especially if you are interviewing across industries where terminology varies. This small habit also reduces your guest’s discomfort, because being introduced correctly is the first signal that you did your homework. Over time, these phonetic annotations become a reusable asset whenever a guest returns for a follow-up.
What to leave off the screen so answers stay spontaneous
Resist the urge to script your reactions, follow-ups, or summaries of the guest’s answers. If your screen tells you what to say after every response, you stop listening and start waiting for your cue, and viewers sense that disconnect immediately. Leave the screen populated only with structure: question stems, must-ask items, names, and transitions. Everything conversational — the surprised laugh, the improvised follow-up, the summary that bridges to the next topic — should come from you in the moment. This restraint is what separates an interview that feels alive from one that feels like a press conference.
Step 3: Set Up Your Teleprompter and Camera
Hardware placement determines whether your interviews look professional or subtly off. The prompter needs to sit as close to the camera’s optical axis as possible so that looking at the screen is nearly the same as looking into the lens. Distance matters as much as position: too close and you will feel cramped, too far and your eye movements become visible to viewers. Set everything up before your guest arrives, because adjusting rigs mid-conversation destroys momentum and reads as disorganization. A stable, tested setup lets the interview begin the moment both parties sit down.
Placement, distance, and eye-line for a natural look
Mount the prompter glass directly in front of the lens and position your chair so your eyes align with the center of the text area, not the extreme top or bottom. When text scrolls through the center, your gaze stays steady and close to the lens, which viewers interpret as direct eye contact with them. As a practical rule, place the screen far enough away that you do not need to strain, but close enough that peripheral vision can still detect guest reactions. Test this by recording a thirty-second sample and watching it back — if your eyes look like they are scanning rather than connecting, adjust before production begins.
Adjusting scroll speed to your speaking rhythm
Scroll speed should feel almost invisible during the interview, which means you must set it during a rehearsal, not on the day. Read your script aloud at your natural conversational pace and adjust until the text arrives exactly when you need it — never so fast that you skim, never so slow that you wait and lose energy. Because interview pacing varies between fast-talking guests and reflective ones, keep a second, slightly slower preset ready for more deliberate conversations. The speed you settle on in a dry run will usually hold up once the real conversation starts, since adrenaline tends to make speakers marginally faster, not slower.
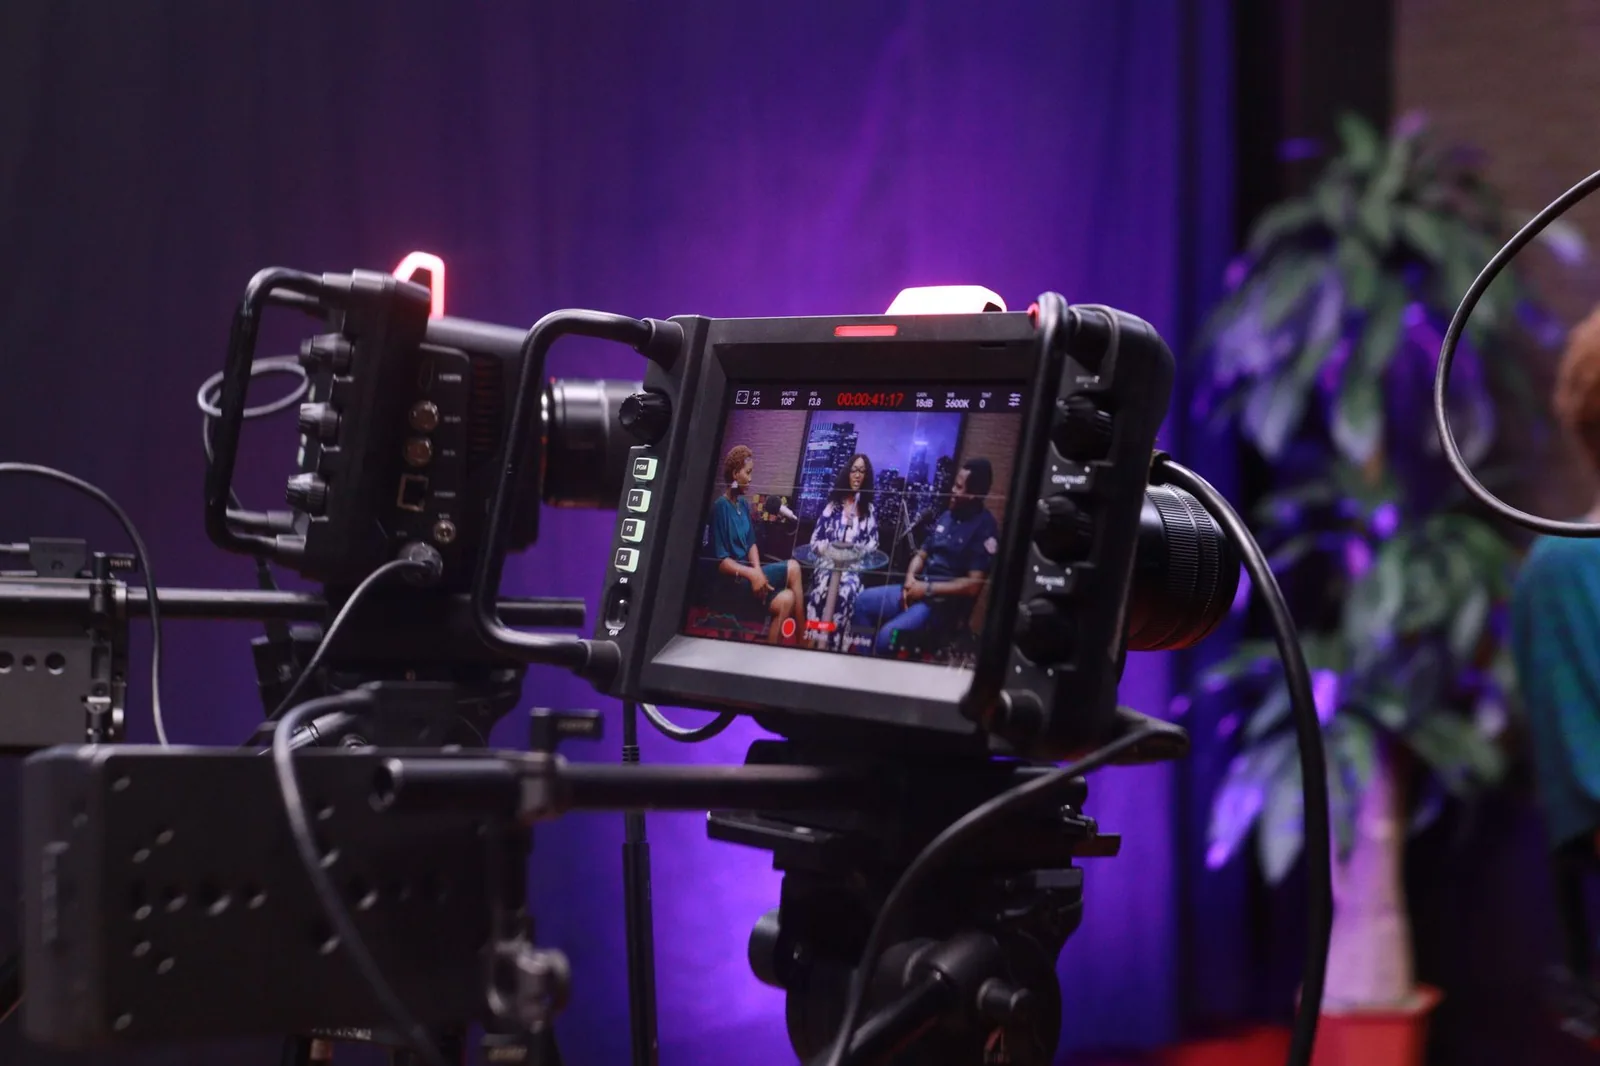
Adapting the same setup for teleprompter for vlogging
The same principles scale down for solo creators who film on location. A teleprompter for vlogging often uses a phone or tablet mounted directly on the camera rather than a full glass rig, which sacrifices some eye-line precision but gains portability. Keep your script even shorter in this format, because vlog viewers expect a faster pace and less formality. If you frequently shoot interviews in the field, practice both configurations so the transition between studio and location setups feels routine rather than experimental.
Step 4: Run the Interview With Confidence
Once the camera rolls, your job shifts from preparation to facilitation. The prompter is now a background reference, not a script to recite, and the best hosts treat glances at it as brief navigational checks. Your primary attention belongs to the guest: their tone, their hesitations, the follow-up hiding in what they just said. The screen exists so you can afford to give that attention fully, because you trust that the structure will still be there when you look back. Holding that balance is the core skill of interviewing with a teleprompter for interviews.
Balancing screen glances with guest eye contact
Establish a rhythm: look at the guest while they speak, glance at the prompter only when you need the next question, and return your gaze immediately after absorbing it. Avoid staring at the screen while asking a question, because that is the moment viewers notice reading behavior most acutely. A useful technique is to memorize the first few words of each question from the cue, then deliver them while looking at the guest — the screen provides recall, not delivery. Over a full interview, these glances should be brief enough that a casual viewer never registers them as reading.
Recovering smoothly when you lose your place
Even with a perfect setup, you will occasionally lose your position — the guest answers longer than expected, or you skip a section unintentionally. The recovery move is simple: pause, breathe, and glance back at your last visible cue marker. Because interviews are conversational, a short pause reads as thoughtful rather than confused, and audiences rarely notice at all. Resist the urge to apologize or narrate your disorientation, which draws far more attention than the original slip. With practice, recovery becomes a two-second non-event that you barely register yourself.
Prompting follow-ups without breaking the conversation
Some of the best interview moments come from follow-ups that were not in the original script. Use brief on-screen markers like [FOLLOW-UP: ask about the funding round] as optional prompts you can deploy if the conversation opens the door, rather than mandatory items you must force in. This keeps your screen useful without making it prescriptive. When a spontaneous follow-up lands well, note it in your post-session review so you can build it into the next template. The prompter holds the plan; you hold the judgment about when to deviate from it.
Step 5: Review, Refine, and Reuse
The final step is where good interviewers become consistent ones. After each session, review the footage with your prompter script open beside you, noting where cues arrived too late, where you skipped a must-ask, or where a section ran long. This review is not about self-criticism; it is about tuning the template so the next interview requires less improvisation. If you publish content in multiple formats, you will notice that review habits transfer directly — the same eye-line and pacing checks apply whether you are refining interview footage or polishing a solo recording.
Checking pacing, missed cues, and awkward reads
Watch for three signals in the raw footage: sections that drag because questions were too open-ended, moments where you visibly searched the screen, and transitions that felt abrupt because the cue was unclear. Each signal points to a specific script fix — tightening a question, adding a bracket marker, or inserting a blank line as a visual pause. Track these fixes in a shared document so your prompter templates improve with every production. Over several episodes, these micro-adjustments accumulate into noticeably smoother pacing without any change to your natural speaking style.
Turning one interview template into a repeatable series
Once a template works, duplicate it rather than rewriting from scratch. Standardize your opening, your sponsor cue placement, your transition language, and your closing remarks, then swap only the interview-specific content between episodes. This approach dramatically reduces pre-production time and gives your series a consistent feel that audiences associate with quality. If other team members host occasionally, the template also serves as documentation of your format, removing the guesswork from handoffs. A single well-tested template can easily carry dozens of episodes with only minor edits each time.
Building a prompter routine your team can follow
Document the full workflow — script formatting conventions, equipment checklist, scroll-speed presets, and review criteria — so it does not live only in one person’s head. A shared routine means a producer can set up the prompter, an assistant can format the script, and any host can step in without a lengthy briefing. It also makes onboarding new contributors faster, because the process is explicit rather than intuitive. Teams that treat prompter setup as a documented routine consistently produce more reliable interviews than teams that improvise every session.
Common Teleprompter for Interviews Mistakes to Avoid
Most interview problems trace back to a handful of preventable errors. Recognizing them early saves entire production days and keeps your on-camera presence natural.
Reading full answers instead of guiding questions
The most damaging mistake is scripting answers you then read aloud, which strips the conversation of spontaneity and makes the guest’s genuine reactions feel staged. Keep only questions, names, and transitions on screen, and let your responses emerge from listening. If you catch yourself writing paragraphs, cut them down to cues before the session begins.
Ignoring your guest while watching the screen
When a host’s eyes stay fixed on the prompter, guests naturally become less animated, and the whole exchange flattens. Alternate deliberately: absorb the cue, then return full attention to the person in front of you. If you notice footage where you barely looked at your guest, shorten your cues so each glance takes less time.
Testing equipment only after the guest arrives
Nothing erodes confidence faster than troubleshooting a cable or recalibrating scroll speed while a guest waits politely off-camera. Run a complete technical rehearsal — camera, audio, prompter, lighting — well before call time, and keep a printed backup of your script in case of technical failure. Preparation of this kind is invisible on camera, and that is exactly the point.
Adapting the Workflow for Presentations and Vlogging
The five-step workflow described here is intentionally format-agnostic, because the underlying discipline — plan, write, set up, perform, review — applies whether you are interviewing, presenting, or vlogging. What changes between formats is text density, hardware size, and the balance between reading and improvisation. If you want to explore those differences in depth, our guide on how to use a teleprompter for interviews covers the interview specifics, while broader resources like understanding teleprompters for video formats explain how equipment choices vary by project type.
From interview mode to single-speaker presentation mode
In a presentation, the prompter carries much more text because you are the only voice, so your script density increases and your scroll speed becomes more consistent. The eye-line principle stays identical, but you will spend longer continuous stretches reading rather than glancing between cues. If you regularly move between formats, review Mastering Teleprompter Usage for the core mechanics that apply across every scenario. The planning and review steps remain unchanged; only the ratio of structure to delivery shifts.
Keeping vlog setups light and travel-ready
Vlogging demands portability, so your prompter kit should collapse into something you can carry in a camera bag without a second thought. Compact clamps, tablet-based prompting apps, and offline script storage keep you operational in locations where full rigs are impractical. For a deeper look at structuring scripts for this format, see how to use a teleprompter for various video formats effectively, which covers format-specific adjustments in detail.
One writing style, three delivery formats
The good news is that short sentences, clear cue markers, and phonetic notes translate across interviews, presentations, and vlogs — you are essentially writing one style and tuning its density for each context. That consistency is what allows a single creator or team to move between formats without reinventing their process every time. For more practical applications, explore mastering the teleprompter for presentations and practical ways to use a teleprompter for video formats. If you want to compare approaches side by side, maximizing your teleprompter for video formats and choosing a teleprompter for video formats cover selection and optimization respectively.
Conclusion
Using a teleprompter for interviews is less about reading and more about staying prepared. Plan the structure, write for the screen, set your eye-line, and treat the prompter as a quiet co-host that keeps you on track. Follow the same five steps and you will notice smoother openings, tighter answers, and a process you can repeat for every interview — whether you are hosting in a studio, presenting on stage, or vlogging on the go. Start with one template, refine it after each session, and let the workflow carry you: preparation done once, confidence delivered every time.
Frequently asked questions
How do I maintain natural eye contact while reading from a teleprompter during an interview?
Place the teleprompter as close to the camera lens as possible so your gaze lands near the lens, and enlarge the font so your eyes barely move. Keep the text on a single short line, scroll slowly, and rehearse until you can paraphrase rather than read word for word. If you only glance at prompts between questions, the effect is far less noticeable than continuous reading.
Should I write out full answers or just use bullet points in a teleprompter script?
Use bullet points or short keyword cues for unscripted, conversational interviews, and full scripted text only for monologues, intros, or tightly worded statements. Bullet prompts keep your delivery spontaneous and reduce the chance of sounding like you are reading. If you must script, write for the ear with short sentences and natural contractions.
Where should I position the teleprompter for a remote video interview on Zoom or Teams?
Mount your phone, tablet, or a beam-splitter glass directly over or just below the webcam so the text and the lens are on the same axis. Keep the text window narrow and positioned near the top of the screen where your conversation partner’s video is, so your eyes do not drift down and away. Raising your laptop to eye level also prevents the downward gaze that gives away that you are reading.
What scroll speed and font size work best for interview prompts?
Start around 130-150 words per minute, close to natural speaking pace, and adjust until you can read without rushing or pausing awkwardly. Use a large font, generous line spacing, and high contrast so you can read at a glance rather than tracking small text. Most teleprompter apps let you control speed live, so practice with the same settings you will use on the day.
Can the interviewee or guest see my teleprompter notes during the call?
On a standard webcam setup, no, because the text is only visible on your screen, though your eye movement or a mirrored window may still give it away. With a beam-splitter teleprompter mounted on the camera, the guest cannot read the glass, but they will see your eyes tracking text if the font is too small. If confidentiality matters, avoid screen sharing and close any editing or notes windows before the interview starts.
Recording with a script? Try Lumi.
Keep your script near the camera and out of your final video. Try free for 3 days.
Learn more