A teleprompter can make or break your first on-camera video, yet most beginners either avoid it or struggle because they never learned the basics. This guide explains what a teleprompter actually is, how the technology delivers text to your line of sight, and the teleprompter tips for beginners that turn shaky reading into smooth, natural delivery. Along the way you will pick up teleprompter best practices and teleprompter efficiency techniques you can apply to live streams, interviews, classrooms, and recorded content alike.
What a Teleprompter Actually Is
From broadcast studios to phone apps
At its core, a teleprompter is any system that displays a script where the presenter can read it while appearing to look straight into the camera lens. In professional broadcast studios, that system once meant a large glass panel mounted in front of an expensive camera, operated by a dedicated crew member. Today the same idea exists on a much smaller scale: a tablet or phone propped beside the lens, a monitor hidden behind a partially reflective pane, or a browser-based app running on a laptop off to the side. The category has widened dramatically, which means beginners no longer need a studio budget to get started. What has not changed is the purpose — keeping your eyes near the lens so the audience feels you are speaking to them directly rather than reciting text from a page.
How the text reaches your eyes: glass, hood, or screen
There are three common ways text physically reaches your line of sight, and understanding them helps you choose the right setup. The first is the classic beam-splitter arrangement: a special half-mirrored glass sits at a 45-degree angle in front of the lens, reflecting the screen below while still letting the camera see through it. The second is a hood or shroud design, where a small monitor sits just below or beside the lens inside a light-blocking cover, so you read text close to the camera without any glass involved. The third is the simplest of all — a plain app on a device placed immediately next to the lens, which works surprisingly well if you train yourself not to glance sideways. Each approach trades off cost, portability, and how naturally your eye line aligns with the lens, but all three deliver the same result when positioned correctly.
Software, hardware, and AI-assisted setups compared
Software solutions range from free mobile apps to desktop suites that offer voice-activated scrolling, remote control pairing, and multi-device sync. Hardware solutions add physical components such as glass kits, professional prompter monitors, and rigs that clamp directly onto your camera. Increasingly, AI-assisted setups sit between the two: tools that summarize a long document into a prompter-ready script, rewrite dense paragraphs into spoken language, or estimate an ideal scroll speed based on word count. A beginner benefits most from starting with software alone, because the script preparation habits you build — short sentences, clear cues, controlled pacing — transfer unchanged when you later upgrade to hardware. For a deeper dive into the broader workflow, see Mastering Teleprompter Usage.
How a Teleprompter Works Step by Step
Loading and formatting the script
The process begins before any device is switched on, because formatting determines whether the rest of the session runs smoothly. Your script is loaded into the prompter application as plain text or a prepared document, then adjusted for display: larger type than you would use for print, generous line height so words do not blur together, and short paragraphs that fit comfortably within the visible window. Most apps let you set a start and end marker, add bookmarks, and adjust margins so your eye never has to travel to the far edge of the screen. Treat this stage as you would preparing slides for a presentation — the cleaner the input, the fewer interruptions later. Rushing the formatting step is one of the quietest causes of awkward mid-recording pauses.
Scroll speed, line spacing, and mirror mode
Once the script is loaded, three settings control the reading experience. Scroll speed determines how quickly text moves through the reading zone, and it should always be set slightly slower than your natural speaking pace so you can pause without falling behind. Line spacing affects comfort over longer takes, because cramped lines force your eyes to work harder and increase the chance of skipping a word. Mirror mode flips the text horizontally, which is essential on glass-based prompters where the reflection would otherwise render the script unreadable, but it must stay off on direct screens. Adjust these three settings during rehearsal, not during the take, so the camera captures only your finished delivery.
The feedback loop between your eyes and the camera lens
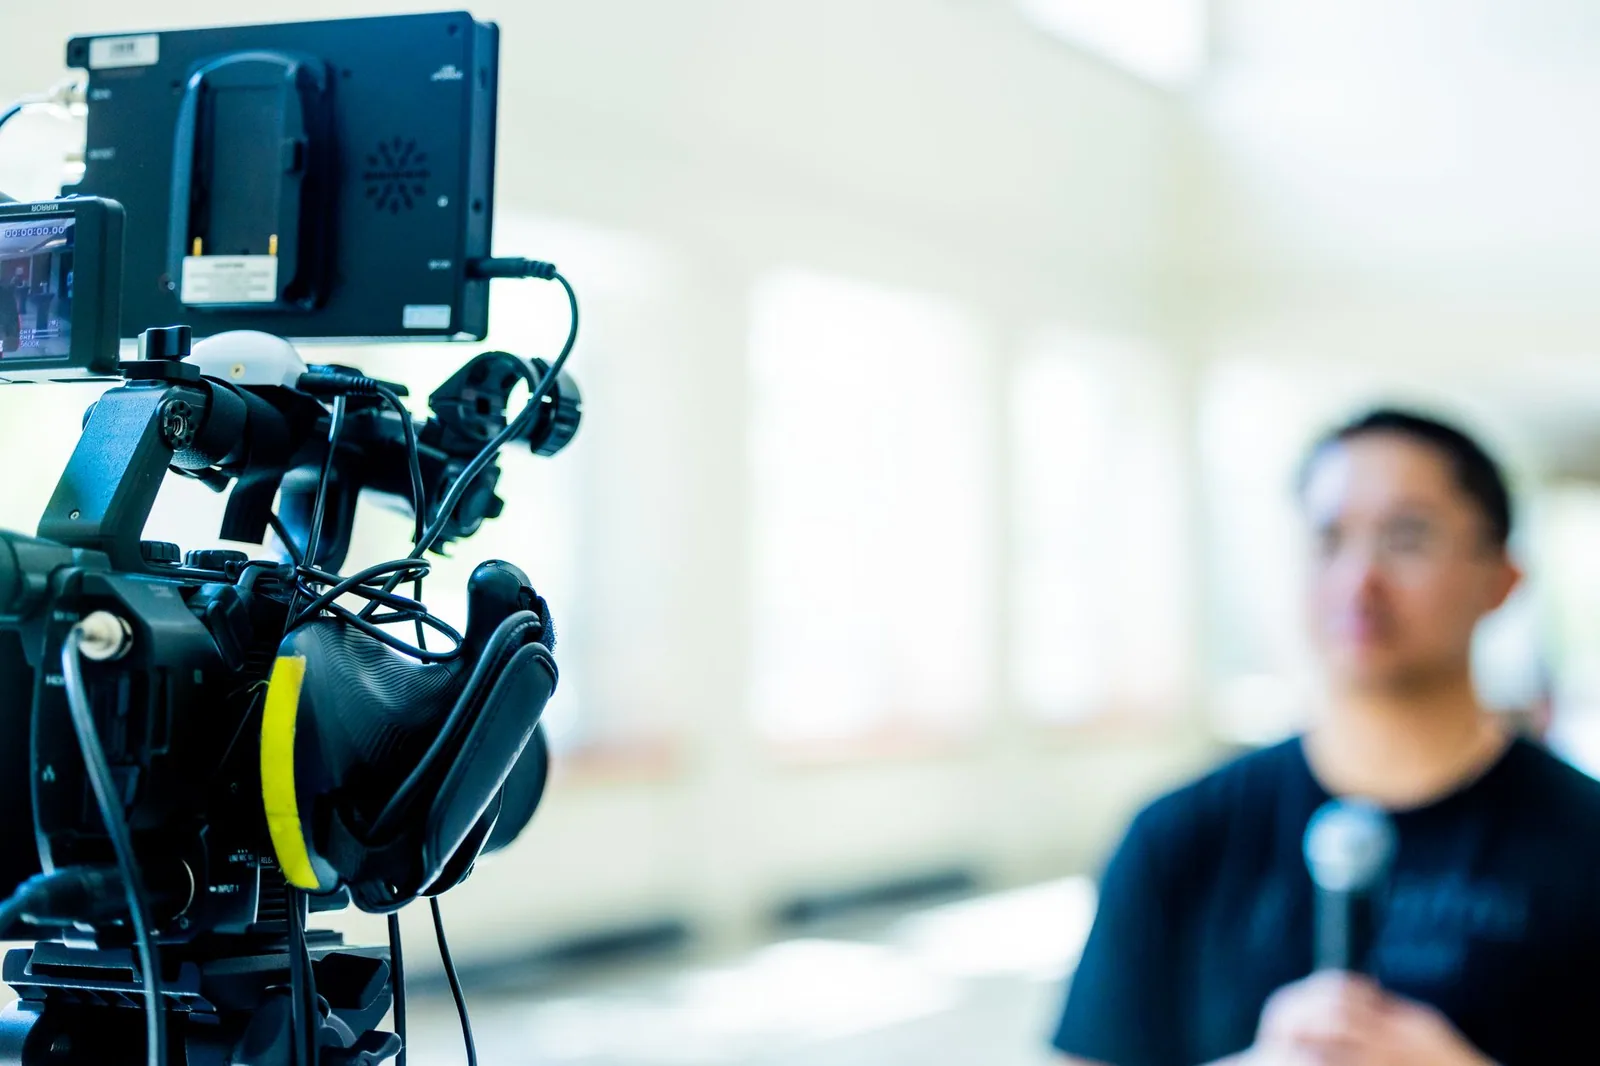
The most misunderstood part of any teleprompter system is the relationship between where you read and where the camera looks. When text sits directly over or immediately beside the lens, your eye line reads as direct eye contact to the viewer, which is why glass kits position the reflection so precisely. As the text scrolls, your eyes track a narrow horizontal band near the lens, and the small movements you make look natural on camera rather than distracted. If the text drifts too far from the lens, the illusion collapses and viewers can tell you are reading. Understanding this loop — scroll position, eye line, lens center — is the mechanical foundation everything else in this guide builds on.
Why Efficiency Techniques Matter From Day One
Fewer retakes and shorter edit sessions
Beginners often assume efficiency techniques are only useful once they are producing content at volume, but the benefit appears immediately on the very first shoot. When your scroll speed, script format, and eye line are already dialed in, you make fewer reading errors, which means fewer retakes, which means fewer hours spent scrubbing through footage in the edit. Each flubbed line costs not only the retake itself but also the mental reset required to return to the same energy level. According to public sources on production workflow, time spent on avoidable retakes is one of the largest hidden costs in short-form video production. Building efficiency habits early prevents that cost from becoming your default.
Consistent pacing across takes and episodes
Consistency is the second major payoff, and it matters enormously for series content. When every episode uses the same script structure, the same paragraph lengths, and the same scroll settings, your pacing sounds identical from week to week, which makes editing and publishing far simpler. Viewers may not consciously notice the consistency, but they do feel it as a sense of professionalism and reliability. Efficiency techniques such as a reusable script template and pre-set prompter profiles turn consistency into an automatic outcome rather than something you have to force each session. The result is a library of content that feels cohesive even as your on-camera confidence grows.
Reduced cognitive load while you focus on delivery
Perhaps the most valuable reason to invest in teleprompter efficiency techniques is cognitive: reading a well-formatted script at a controlled speed consumes far less mental effort than improvising structure while also worrying about timing. When the mechanics run themselves, your attention is free to focus on tone, facial expression, and connection with the audience. Beginners who skip these techniques often report feeling mentally exhausted after short recordings, because they are simultaneously composing, reading, and monitoring the scroll. Systems reduce that burden so your energy goes where it matters — into the performance rather than the logistics.
Teleprompter Tips for Beginners: Core Habits
Read phrases, not words, and keep your chin steady
The single most transformative habit is shifting from word-by-word reading to phrase-based reading. Instead of your eyes jumping from word to word, you absorb short chunks — three to five words at a time — and deliver them as a single unit of meaning. This mirrors how people actually speak and instantly removes the choppy, staccato rhythm that betrays a reader. Pair this with a steady chin: avoid nodding along with each line, because small head bobs read as uncertainty on camera. Keep your head still and let your eyes do the tracking, and your delivery will sound conversational even when you are following the text closely.
Practice breathing and pausing at punctuation
Punctuation in a teleprompter script is not decoration — it is instruction. Commas signal a brief breath, periods signal a full stop and reset, and dashes signal an abrupt turn in thought. Beginners who ignore punctuation race through sentences because the scroll keeps moving, which produces a breathless delivery that exhausts both you and the viewer. Practice reading aloud with exaggerated pauses at every mark until the rhythm becomes automatic. When the pauses feel natural during rehearsal, they will feel natural on camera, and the scroll speed you chose will suddenly feel comfortable instead of urgent.
Mark emphasis and natural break points in the script
Before recording, take five minutes to mark where you want emphasis, a change of tone, or a deliberate pause. These marks can be as simple as bold text, capital letters, or a slash symbol between clauses, as long as you understand them at a glance while reading. Emphasis marks prevent the flat monotone that makes scripted content feel lifeless, because they remind your future self to lift a word or drop a phrase. Break points give you natural recovery zones — if you stumble, you know exactly where to resume rather than scanning the whole screen in panic. This small preparation step pays dividends every single take.
Warm up your voice before the camera rolls
A cold voice reading a teleprompter produces a thin, tight sound that no amount of editing can fully repair. Spend two to three minutes before recording on simple vocal warm-ups: gentle humming, tongue twisters, or reading the first paragraph aloud at half speed. Warming up loosens your articulation and raises your energy to a level that matches what the audience expects from the finished video. It also gives you a final chance to catch awkward phrasing in the script while there is still time to rewrite it. Think of the warm-up as the bridge between preparing the prompter and performing for the lens.
Teleprompter Best Practices for Script Preparation
Write the way you speak, in short conversational sentences
A teleprompter punishes written prose. Sentences drafted for reading on paper tend to be long, layered, and full of subordinate clauses that exhaust a presenter trying to track them on screen. The best scripts are written the way you would explain the topic to a friend: short sentences, everyday vocabulary, and one idea per line. Read each sentence aloud as you write it, and if you stumble or run out of breath, split it in two. This approach aligns perfectly with teleprompter best practices, because a script that sounds spoken is a script that reads smoothly. For more on shaping on-camera language, see Essential Tips, Step by Step, for Teleprompter Success.
Use cue lines for graphics, B-roll, and gestures
Professional prompter scripts are not only spoken text — they include non-verbal cues that guide the production. Bracketed lines such as [SHOW CHART] or [B-ROLL: office exterior] tell you when a graphic appears, while cues like [GESTURE: open hands] remind you to move naturally instead of standing rigid. These cues are read silently, so they should be visually distinct from spoken words — uppercase, bracketed, or a different color if your app supports it. Including them in the script eliminates the need for someone off-camera to signal you, which keeps your eye line steady and your attention on delivery.
Number paragraphs and keep a clean margin for quick recovery
Even careful readers lose their place occasionally, especially after a flub or an interruption. Numbering each paragraph gives you an instant reference: if you lose your line, you glance at the numbers, find your place, and resume within a second. A clean left margin with consistent indentation reinforces this, because your eye can lock onto the starting edge of any paragraph without searching. Keep paragraphs short — four to six lines maximum — so recovery never requires scanning a wall of text. This simple structural discipline is one of the most underused teleprompter best practices, yet it prevents the longest and most damaging pauses during recording.
Format for the display: larger type, generous line height
The display environment dictates formatting choices that differ sharply from print standards. Type should be large enough to read comfortably from your seated or standing distance, typically far larger than you would ever use in a document. Line height needs to be generous so consecutive lines do not visually merge when your eyes move quickly. Avoid justified text, which creates uneven word spacing that slows reading, and avoid italics for emphasis, which are harder to parse at speed — use bold instead. Test your formatting by reading the script aloud at your target pace once before recording; if you stumble on layout rather than content, adjust the format, not your delivery.
Troubleshooting the Most Common Beginner Mistakes
Reading too fast because the scroll feels urgent
The most common beginner error is accelerating to keep up with a scroll set too fast, which produces a rushed, anxious delivery. The fix is counterintuitive: slow the scroll down until you can finish every sentence with a beat to spare, even if that means your overall recording takes longer. It is far easier to add pace in the edit by trimming pauses than to fix audio where words blur together. If you notice yourself racing, stop, reset the speed, and rehearse one paragraph before continuing. The scroll should serve your voice, never the other way around. Related guidance on pacing appears in Teleprompter Efficiency: Essential Tips You Can Apply Now.
Losing your place after a flub or interruption
When a line goes wrong, most beginners panic and scan the entire screen, which turns a two-second mistake into a fifteen-second reset. Instead, train yourself to look for the nearest numbered paragraph or bold cue line and resume from there. Some apps support a bookmark or “return to last position” function that restores your place instantly — learn that shortcut before your first recording session. The key mindset shift is accepting that a flub is normal and recoverable; the audience never sees the discarded take, only your composed return.
Sounding flat or robotic when you stare at the text
Staring rigidly at one spot drains expression from your face and voice, making even well-written scripts sound monotone. The remedy combines technique and preparation: mark emphasis in the script, read in phrases rather than words, and rehearse until the words feel familiar enough that you can glance away briefly to gesture or emote. Vary your volume slightly at the start of each new paragraph, and imagine you are explaining the point to a specific person rather than reading to a camera. Expression comes from meaning, and meaning comes from understanding your script before the recording begins.
Placing the prompter too far or too close to the lens
Physical placement problems are the hardest to diagnose because they show up only in the final footage as a slightly averted gaze. If the text sits too far from the lens, viewers notice your eyes drifting to the side; if it sits too close or at a steep angle, you strain to read and your expression tightens. Use a test recording to check your eye line: play it back and look at where your eyes focus relative to the lens center. Small adjustments of a few inches often resolve the issue completely. Positioning is one area where patience during setup saves multiple retakes later, as explained in Essential Teleprompter Tips for Beginners to Enhance Presentations.
Efficiency Techniques That Speed Up Your Workflow
Rehearse with the prompter before you hit record
The single highest-return efficiency technique is a full rehearsal read-through with the prompter running, before you ever press record. During rehearsal you catch awkward phrasing, adjust scroll speed, test your eye line, and warm up your voice — all without burning takes. Aim for at least two complete passes: one slow and deliberate to fix the script, and one at recording pace to confirm the settings. This habit alone eliminates the majority of first-take problems that beginners struggle with, and it adds only a few minutes to your total session time.
Use remote controls, foot pedals, or voice-paced scrolling
Physically touching a device to pause or advance text breaks your eye line and body position, which is why dedicated controls exist. A handheld remote lets you pause between sections without reaching forward, a foot pedal keeps both hands free for gesturing, and voice-paced systems adjust the scroll automatically to your speaking rate. Any of these tools removes a small but repeated interruption from your workflow, and over a long recording session those interruptions add up. Start with whatever control method your current setup supports, then upgrade as your sessions grow longer.
Build a reusable script template for recurring formats
If you produce similar content regularly — weekly updates, lesson modules, product walkthroughs — a script template is a force multiplier. A template fixes your paragraph structure, cue placement, numbering convention, and formatting defaults, so every new script starts partially finished. It also ensures consistency across episodes, which simplifies both editing and audience expectations. Keep the template in a shared document with placeholder sections, and update it whenever you discover a structural improvement. This is one of the most durable teleprompter efficiency techniques because the time saving compounds with every video you produce.
Leverage AI summarizing and rewriting tools before recording
Modern AI tools can take a long article, meeting note, or outline and produce a condensed, spoken-language draft in seconds. Used carefully, this dramatically shortens script preparation: the AI handles the first pass of summarizing and rephrasing, and you handle the final pass of voice, emphasis, and cue marking. Always review AI output for accuracy and tone before loading it into the prompter, because generic phrasing will undermine the conversational style your audience expects. Think of these tools as a fast first draft rather than a finished script. For more on combining preparation with technique, explore Why Essential Tips Fail: Common Teleprompter Mistakes.
Applying the Basics Across Content Types
Live events and streams where there is no second take
Live contexts raise the stakes because there is no edit to rescue a mistake, which makes prompter fundamentals even more critical. In live settings, keep the script lean — bullet-style cues and key phrases rather than full paragraphs — so you have room to react to what is happening in the moment. Set scroll speed conservatively and rehearse the opening and closing segments until they are nearly memorized, since those are the moments viewers judge most. A backup plan matters too: keep a printed copy of the cue sheet nearby in case the display fails. Prompters are widely used in live broadcasting according to public sources, and the operators who look most relaxed are the ones who prepared the simplest scripts.
Interviews and multi-host shows with shared cues
Interviews introduce a second variable: another person speaking, which means your script must account for natural turns in conversation. Use cue lines to mark where you ask a question, where you hand off to your co-host, and where you expect an answer, so you always know when to stop reading and start listening. Multi-host formats benefit from numbered paragraphs and consistent formatting across all participants, because everyone needs to find their lines quickly. Rehearse together at least once so timing and handoffs feel natural, and agree on hand signals for unexpected changes. Coordination is what separates a smooth panel discussion from a stilted one.
Educational videos, webinars, and recorded lessons
Educational content has unique prompter demands: accuracy of terminology, clear sequencing of concepts, and moments where you need to demonstrate something on screen. Mark every technical term carefully in the script and rehearse its pronunciation, because stumbling on a key concept damages credibility instantly. Use cue lines to indicate when to switch to a screen share, hold up a prop, or display a diagram, so transitions happen without hesitation. Shorter modules with distinct sections are easier to prompt and easier for learners to follow, so resist the urge to load an entire lecture into one continuous scroll. Effective techniques for this format are covered in Boost Your Presentations with Effective Teleprompter Techniques, and the broader craft is explored in Mastering Teleprompter Best Practices for Effective Presentations. Additional workflows can be found in Practical Application of Essential Tips for Teleprompter Use, Essential Tips for Effective Teleprompter Best Practices, Essential Tips for Mastering Teleprompter Usage Effectively, and Essential Tips for Effective Teleprompter Usage Explained.
Conclusion
Mastering a teleprompter is less about expensive gear and more about understanding the mechanics, preparing the script, and rehearsing until reading feels like speaking. The core teleprompter tips for beginners covered here — phrase-based reading, punctuation-aware pausing, marked emphasis, and vocal warm-ups — require no special equipment, only deliberate practice. Pair those habits with teleprompter best practices such as conversational script writing, numbered paragraphs, clear cue lines, and display-friendly formatting, and your first recording session will already sound polished. As your teleprompter efficiency techniques mature through rehearsal routines, reusable templates, and reliable controls, you will spend less time on retakes and more time connecting with your audience, whether you are recording in a studio or presenting live. Start today with the simplest setup you have available, apply one habit from each section, and build from there — consistency will take you further than any upgrade ever will.
Frequently asked questions
What scroll speed and font size should a beginner use on a teleprompter?
Start with a comfortable conversational pace rather than a fast one — most beginners set the scroll too quickly and end up rushing. As a rough guide, use large, high-contrast text (around 24–36 pt equivalent) and adjust speed to roughly 120–150 words per minute, which matches natural speaking tempo. Rehearse once at speed and nudge it up or down until you can breathe and pause without fighting the script.
Why do I sound like I’m reading, and how do I fix it?
It usually comes from full sentences with formal punctuation, which trains your eye to ‘read aloud’ instead of speak. Rewrite the script in short conversational fragments with natural breaks, and mark emphasis or pauses the way you’d actually say them. Rehearsing out loud before recording also shifts the wording into muscle memory so delivery sounds spontaneous.
Where should the teleprompter be placed so I don’t look like I’m reading?
Position the prompter as close to the camera lens as possible and keep the text near the top-center of the screen — that keeps your eye line within a few degrees of the lens. If the text sits high above or far below the camera, viewers will see your eyes drifting and the effect breaks. On phones, a glass or beam-splitter prompter that mounts directly over the lens works far better than an app on a separate screen.
Do I need to memorize the script or can I rely on the prompter fully?
Neither extreme works well: word-for-word dependence makes delivery stiff, while memorizing defeats the purpose of the tool. Read the script 2–3 times aloud beforehand so you know the flow, then use the prompter mainly as a safety net for structure, key phrases, and hard-to-remember numbers or names.
Is a teleprompter app on my phone good enough, or do I need dedicated hardware?
A phone app is perfectly fine for video calls, short social clips, and practice, and it costs nothing. Dedicated hardware becomes worth it once you record regularly to a real camera, because a beam-splitter glass puts the text directly in front of the lens and eliminates the off-axis eye line problem that apps on a second screen can’t solve.
Recording with a script? Try Lumi.
Keep your script near the camera and out of your final video. Try free for 3 days.
Learn more