Choosing among the best teleprompter apps is only half the battle — knowing how to actually use one on set, on stage, or on a live call is what separates a stiff read from a natural delivery. This guide walks content creators, video producers, public speakers, and educators through real-world workflows: matching teleprompter app features to your project, deciding between free vs paid teleprompter apps, scripting for scroll speed, and running smooth practice sessions before you record.
What Makes the Best Teleprompter Apps Stand Out
Every teleprompter app is competing to do one deceptively simple thing: keep text moving at the pace of your voice while you look straight ahead. Adjustable scroll speed, reliable pause and resume, mirror mode for beam-splitter rigs, scalable font sizing, and clean script import cover the overwhelming majority of shoots you will ever run. Apps that execute those basics smoothly feel invisible on set; apps that stutter, jump, or lose your place force you to think about the tool instead of the audience.
Consistency beats feature count every time. A gradual speed ramp, a remote that pairs on the first try, a script that opens offline when the venue wifi collapses — these quiet behaviors decide whether a session runs or derails. When you are shortlisting options, work from a comparison-first mindset rather than a download-first one, as outlined in Discovering the Best Teleprompter Apps for Your Needs, so your shortlist reflects how you actually work.
Core teleprompter app features worth prioritizing
Start with scroll control: you want fine-grained speed adjustment plus a smooth acceleration ramp so the first line does not lurch past you. Add remote or pedal support for solo recording, mirror mode for glass rigs, adjustable font size and line spacing readable from arm’s length, and straightforward script import from plain text, documents, or cloud storage. Everything else is secondary until these are dependable.
Features that matter less than you think
Decorative themes, animated word counters, integrated voice synthesis, and elaborate analytics look good on a store page but rarely change the outcome of a take. Judge any app against a short checklist tied to your actual workflow instead of a marketing bullet list, and you will avoid paying for complexity you never touch during a shoot.
How your use case changes the feature list
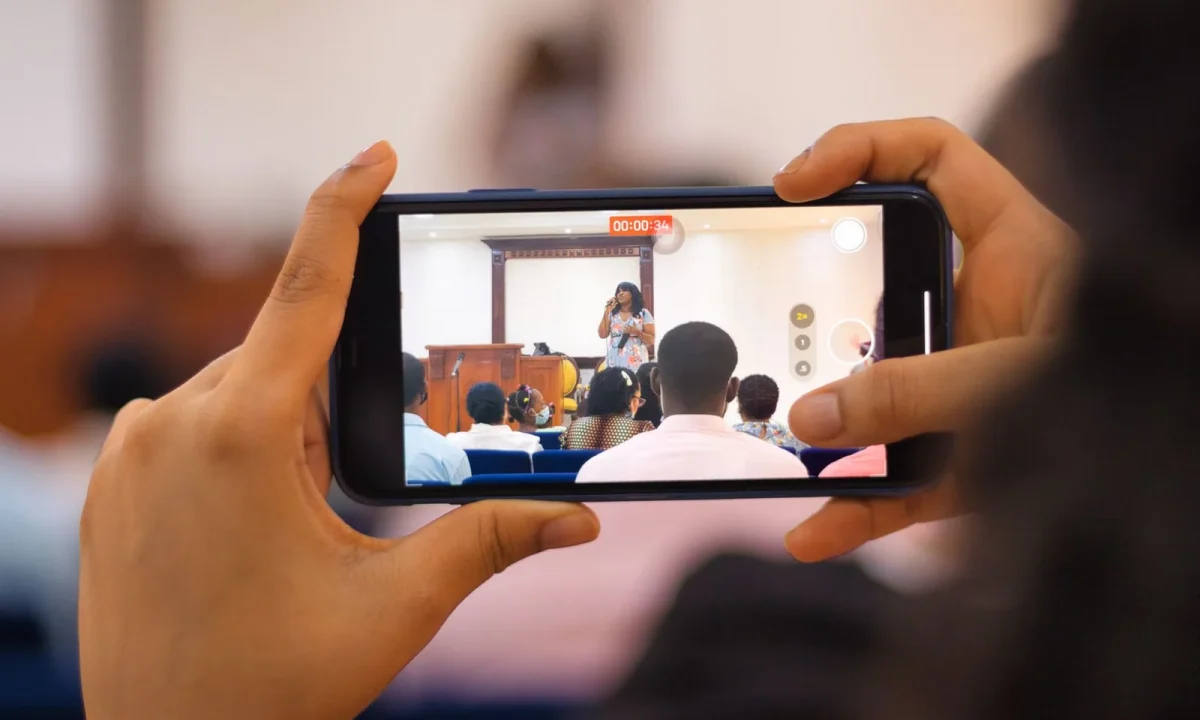
A tutorial recorded alone at a desk prioritizes remote control and a jump-to-section shortcut, while a keynote on a lectern prioritizes large type and quick page turns. A live interview needs instant pause and resume; a classroom lecture needs offline reliability and fast in-app editing. The same app can serve all of them, but the features you rank first should follow the format you shoot most often — see Exploring Key Teleprompter App Features for Enhanced Presentations for a deeper breakdown.
Free vs Paid Teleprompter Apps: A Practical Split
The free-versus-paid question is less about quality and more about scope. According to publicly available app listings, free tiers generally include adjustable scroll speed, basic font controls, and mirroring, which is genuinely enough for standard talking-head recordings of a few minutes. Paid plans tend to add cloud sync across devices, remote-device pairing, longer script storage, advanced timing controls, and remove watermark or duration limits.
Before spending anything, write down the single friction point that annoys you most — if it is not on the paid feature list, upgrading solves nothing. A structured side-by-side evaluation keeps you honest about that, and the framework in Free vs Paid Teleprompter Apps: Which One Should You Choose? is a useful starting point. For a broader market view, Teleprompter App Comparisons: Finding the Best for You collects the trade-offs in one place.
What free tiers usually cover
Most free tiers handle a complete short-form workflow: type or paste a script, set a speed, mirror the text, and record. The limits usually appear around script length, saved projects, export options, or advertisements between sessions. For a weekly five-minute video, that ceiling may never be reached.
What paid upgrades typically unlock
Paid plans commonly add multi-device sync so you can edit on a laptop and prompt from a tablet, plus reliable remote operation, custom scroll presets, and larger script libraries. According to publicly available app listings, advanced pacing controls and removal of ads or watermarks are the other frequent additions. These matter once you produce at volume or work with a separate operator.
When staying free is the smarter choice
If you record short, self-contained videos and your only complaint is cosmetic, staying free preserves budget for microphones and lighting, which change perceived quality more than any prompter tier. Free also suits occasional users — an educator prepping one lecture a month rarely needs cloud sync. Test the free tier for a full production cycle before assuming the upgrade is necessary.
Signs it’s time to upgrade
Upgrade when a limitation repeatedly interrupts your flow: scripts truncated mid-shoot, no remote forcing constant walks back to camera, ads appearing between takes, or a watermark you must explain to a client. The signal is repetition, not frustration on a single bad day. When the same obstacle appears three sessions running, the paid tier has earned its cost.
Setting Up Your First Real Recording Session
The most common early mistake is treating the app and the physical setup as two separate decisions. They are one system: the best script and the smoothest scroll will still look wrong if your phone sits three feet from the lens and your eyes drift to the corner of frame. Test mounting, distance, lighting, audio, and scroll speed together in a single dry run before you press record for real.
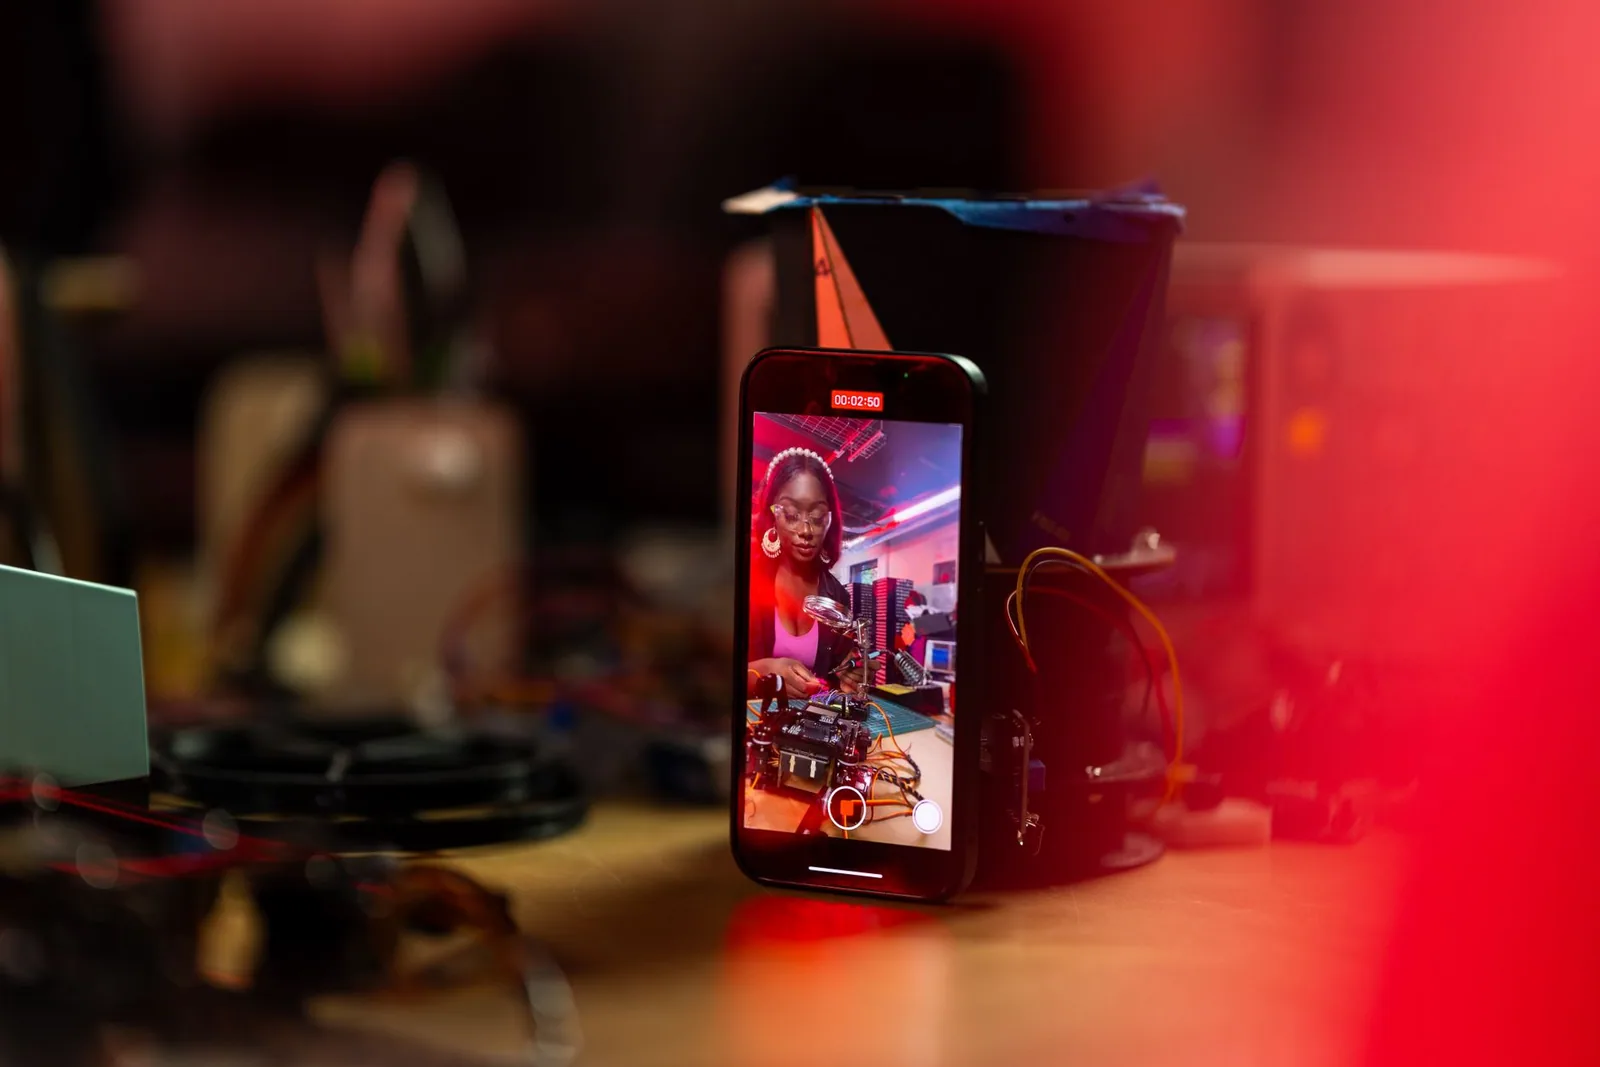
Mount the device close to the lens and at roughly eye height so your gaze reads as direct engagement rather than a sideways glance. Keep the distance consistent between sessions — your muscle memory depends on it — and eliminate glare that forces you to squint. If you eventually invest in glass, the wider setup logic is covered in Innovations in Teleprompter Technology.
Mounting, distance, and eye-line basics
A phone propped just below the lens works for short videos, while a beam-splitter rig places text directly in front of the lens for a truer eye-line. Whichever you choose, lock the position with a mount rather than a stack of books, and measure the distance once so future setups match. A stable, repeatable eye-line is worth more than an expensive rig you reposition every shoot.
Importing and formatting your script
Import the script early and format it for the screen: short paragraphs, generous line spacing, and no dense blocks that make you lose your place. Add line breaks where you intend to breathe, and check that punctuation renders cleanly after import. Doing this before lights and audio saves you from editing on camera while everyone waits.
Testing audio, lighting, and scroll speed together
Run a two-minute take with everything live — audio recording, key light, and prompter scrolling — because problems only appear in combination. Lighting can wash out the screen, screen brightness can tint your face, and a scroll speed that felt right in silence may feel rushed once you speak. Adjust all three in the same pass, then lock the settings as your defaults.
Writing and Pacing a Script for a Teleprompter App
A teleprompter script is written for the eye, not the page, and that single idea changes how you draft. Paragraphs should be short enough that your peripheral vision can hold the current line while anticipating the next, and rhythm should match how you speak rather than how you write emails. Dense prose forces fast reading, and fast reading produces the flat, breathless delivery audiences immediately recognize as “scripted.”
Time yourself reading the draft aloud at a comfortable pace, then divide by your target video length to find the real word budget. If the script runs long, cut content rather than speeding the scroll — rushed pacing is far more damaging than a shorter video. Pacing discipline is also where most comparison guides converge, which is why the principles in Effective Teleprompter App Comparisons: Best Practices Revealed are worth applying to your own drafts.
Sentence length and scroll rhythm
Aim for sentences of roughly ten to fifteen words so the scroll never outruns a clause you cannot resolve. Long sentences with multiple subordinate clauses force you to hunt for your place after every breath. Short, spoken sentences line up naturally with the constant upward motion of the text.
Marking emphasis, pauses, and b-roll cues
Use plain markers in the script — ALL CAPS for stress, a slash for a beat, a bracketed note for b-roll — so you can act on them without breaking flow. These cues give the read intention and give your editor material to cut against. Keep the notation consistent across every script so your eye recognizes it instantly under pressure.
Formatting tricks that keep the read natural
Break lines where you would naturally pause, start new paragraphs at topic shifts, and avoid hyphenated compounds that your eye stumbles over mid-scroll. Numbers and acronyms are easier spoken as words than as symbols. Each of these small choices reduces the micro-hesitations that make a delivery feel mechanical.
Practice Drills Before You Hit Record
Rehearsal is not a one-time favor you do for a difficult script; it is a repeatable drill you run before every session. Familiarity with the words is what makes the app disappear, because you stop decoding text and start performing it. Treat these drills like a warm-up: short, structured, and performed the same way each time until they become automatic.
The habits below also transfer directly to evaluation work — the same discipline you bring to a test take applies when scoring candidates, as explained in How to Run Teleprompter App Comparisons, Step by Step. Build the routine once and it will serve both your recordings and your tool decisions.
The three-read rehearsal method
Read the script three times: once silently to catch errors, once aloud at conversational pace to find awkward phrasing, and once at target speed while watching the scroll. The first read fixes the words, the second fixes your voice, and the third calibrates the app. Skipping the third read is how people discover pacing problems mid-take.
Marking stumble words and transitions
Highlight every word you tripped over during rehearsal and rewrite it in simpler language rather than practicing the stumble. Mark transitions between sections with a clear cue so you can recover if you lose your place. After two or three sessions you will notice the same problem words recurring, and eliminating them at the script stage saves minutes each shoot.
Recording a test take and reviewing it
Record a full test take with final settings, then watch it back with sound off first to judge eye-line and body language, and with picture off to judge pace. Note the timestamp of every stumble, hesitation, or drift toward the corner of frame. Those notes become the specific fixes you apply before the real record, not general resolutions to “do better.”
Using the Best Teleprompter Apps Across Different Formats
Script length, scroll pace, and audience interaction all shift with format, and the best teleprompter apps are flexible enough to adapt — provided you reconfigure them per context. A polished talking-head setup can fail as a live stream prompter simply because the operator never changed the pace or the navigation method. Decide which format you are working in before you touch a single setting.
Multi-format creators often maintain one master script template with variants per channel, which keeps formatting consistent while allowing pace and length to change. If you are still defining which format suits you, Teleprompter App Comparisons: Features, Benefits, and More maps features to use cases, and Practical Insights on Teleprompter App Comparisons for Creators covers how other producers weigh those trade-offs.
Talking-head videos and tutorials
These favor short scripts, steady mid-range scroll speed, and a script broken into chapters so you can restart from any section. Because you are alone, remote control or a foot pedal becomes near-essential — walking to the camera between takes breaks momentum and drains your energy. Keep total runtime tight; tighter scripts read more confidently.
Interviews, panels, and live streams
Live formats need instant pause, quick jump-to-section, and a pace you can abandon and rejoin at any moment, because answers rarely follow the script. Use the prompter for structure — questions, names, key numbers — rather than word-for-word answers. A short, outlined script keeps you responsive to guests instead of chained to a paragraph.
Classroom lectures and keynote presentations
Longer-form speaking demands larger type, page-turn cues you can trigger without looking down, and offline reliability when venue networks fail. Educators and speakers also interact constantly, so the script must tolerate interruptions and resumption. Frequent section markers matter more here than anywhere else, since you will re-enter the text from unpredictable points.
Common Mistakes and How to Fix Them on the Fly
Most on-set prompter problems are small, immediate, and fixable in seconds — if you know what to look for. The danger is compounding: an unreadable line becomes a squint, a squint becomes a dropped eye-line, and a dropped eye-line becomes a take you cannot use. Keep the fixes below handy and address issues the moment they appear rather than hoping the next take improves.
Mid-shoot corrections are also where comparisons get real, because a feature that looks good on paper may be impossible to reach while the camera rolls. That practical gap is exactly what Avoiding Common Pitfalls in Teleprompter App Comparisons warns against, and it is worth internalizing before your next evaluation.
Reading too fast or too rigidly
If your delivery sounds mechanical, lower the scroll speed by a small increment and add visible breath marks in the script. Speed almost always outruns comfort before you notice it. If it persists, shorten the paragraph you are reading — dense text is usually the real cause.
Poor eye-line and camera placement
If your gaze reads as off-camera, move the device closer to the lens and raise it to eye height rather than tilting your head down. Re-check after any bump or repositioning, since a few inches changes the entire impression. Consistent placement matters more than perfect placement.
Ignoring app settings during a session
Font size, brightness, and speed defaults set before the shoot are often the culprit when reading suddenly feels hard. Pause, adjust one variable, and re-read the line before continuing. Never change three settings at once, or you will not know which one helped.
Troubleshooting mid-shoot checklist
- Pause the scroll and take one full breath before resuming.
- Check eye-line against the lens, then re-align the mount if needed.
- Verify brightness against your key light and reduce glare.
- Confirm the remote pairs and the script is not near its length limit.
- Mark the timestamp of the problem so you can review it later.
Building a Repeatable Workflow With Your Chosen App
The real advantage is never the app alone — it is the repeatable workflow wrapped around it. A creator with modest tools and a disciplined process will outperform a creator with premium tools and improvised sessions, because consistency compounds across every video. Treat your workflow as the product you are building, and the specific app as a swappable component inside it.
Workflow design is also the hardest part of choosing well, which is why structured evaluation guides exist. Use Teleprompter App Comparisons: Finding the Best for You to frame the decision, then codify the result into habits you can run without thinking.
Creating a pre-shoot checklist
Write a one-page checklist covering mount position, script import, font and brightness, scroll speed, remote pairing, audio levels, and a timed test take. Run it every session until it takes under five minutes, then never skip it. The checklist is what makes good sessions repeatable instead of lucky.
Building a template script library
Save templates per format — tutorial, interview prompt, lecture — with your standard line breaks, cue markers, and section labels already in place. New scripts then start halfway finished, and formatting consistency improves automatically across your catalog. Over time the library becomes a record of what reads well for you specifically.
Reviewing and iterating after each shoot
Spend ten minutes after every session noting what stumbled, which settings you changed, and where the scroll felt wrong. Append those notes to your checklist or templates so improvements carry forward. Small, frequent revisions beat occasional dramatic overhauls, and the habit keeps your workflow aligned with how your delivery evolves.
Conclusion
The best teleprompter apps don’t automatically make you sound better — a deliberate workflow does. Start by matching teleprompter app features to the formats you shoot most, be honest about free vs paid teleprompter apps for your budget and needs, and build a habit of rehearsal before every record. Doing so consistently lets the technology fade into the background while your delivery takes center stage.
To put it into action this week: pick one format, write a short script with marked pauses, run the three-read drill, do a full test take with your final settings, and note three specific fixes. Then repeat the same sequence on your next shoot and let the checklist, not your memory, carry the process forward.
Frequently asked questions
What scroll speed should I set in a teleprompter app for a natural delivery?
Start around 120–140 words per minute, which matches a conversational speaking pace, and adjust until you can read comfortably without rushing. Most apps let you change speed on the fly or with a remote, so record a short test clip and tune from there instead of guessing the perfect number upfront.
How do I keep my eyes on the camera instead of looking like I’m reading?
Place the script window as close to the camera lens as physically possible—ideally directly above or below it—so your eye movement stays within a few degrees. Widen the text and increase font size so each line takes longer to read, which reduces the visible side-to-side eye motion that gives away a teleprompter.
Do free teleprompter apps work well enough, or is a paid plan necessary?
Free tiers are usually sufficient for basic recording: scrolling text, speed control, and mirror mode. Paid plans typically unlock video recording inside the app, remote control support, cloud script sync, watermark removal, and longer script limits—worth it only if you produce content regularly.
Can I control a teleprompter app while recording alone?
Yes—use a Bluetooth presentation remote or the app’s companion watch/phone remote to pause, rewind, and adjust speed hands-free. If you don’t have a remote, most apps support voice-following or auto-scroll tuned to your pace, though a physical remote is far more reliable during long takes.
Why does my recorded audio sound worse when using a teleprompter app on my phone?
Holding the phone at arm’s length to read the screen pushes the built-in microphone away from your mouth, thinning the sound. Use a lapel or USB microphone positioned close to you, or connect the app to an external camera while the phone acts only as the scrolling display.
How should I format my script so it reads smoothly on a scrolling prompter?
Break the text into short phrases of 5–8 words, one line each, and write in spoken language rather than formal prose. Mark pauses and emphasis, avoid long unbroken paragraphs, and rehearse aloud first—awkward phrasing that looks fine on paper becomes a stumble mid-take.
Recording with a script? Try Lumi.
Keep your script near the camera and out of your final video. Try free for 3 days.
Learn more