Choosing among the best teleprompter apps can feel overwhelming when every store page promises flawless delivery, zero latency, and studio-quality results. This step-by-step guide walks content creators, video producers, public speakers, and educators through a practical evaluation process—from clarifying your use case and comparing free vs paid teleprompter apps to testing teleprompter app features under real recording conditions. The goal is a confident selection that fits your workflow, your budget, and your on-camera goals, rather than an impulse download you delete after one shoot.
The process below mirrors the structured approach described in How to Run Teleprompter App Comparisons, Step by Step, but it is written for people who want plain-language guidance rather than a spreadsheet-first methodology. Work through the seven steps in order, and resist the temptation to skip ahead to pricing before you understand what you actually need. Most bad purchases happen because creators shop for features instead of solutions.
Step 1: Define What You Actually Need From a Teleprompter App
Start with your use case, not with a feature list, so your shortlist reflects how you really work. A podcaster recording solo in a quiet room has almost nothing in common with a moderator reading questions at a live conference, yet both end up browsing the same app store carousel. Write down where you record, how long your takes run, how far you sit from the screen, and who else needs access to the script. Those four answers eliminate most of the market before you install anything.
Identify your recording context: studio, interviews, live events, or classroom
Your environment dictates the app settings that matter most. Studio work with a fixed camera and controlled lighting lets you place a tablet or second monitor at the ideal distance, so readability and smooth scrolling dominate the checklist. Interviews and live events add pressure: you need pause/resume you can trigger without looking down, stable performance over long sessions, and a display bright enough to read under stage lights. Classroom and lecture settings favor simplicity, since you may hand the device to a colleague or move between rooms mid-session.
Decide which teleprompter app features are must-haves vs nice-to-haves
Split your requirements into two columns before you compare anything. Must-haves are the features that would break your workflow if missing—reliable scroll speed control, script import from your usual document format, and readable text at your camera distance. Nice-to-haves include voice-follow scrolling, cloud sync, custom themes, or multi-device control. Keeping this separation prevents you from paying for a premium tier whose headline features solve problems you do not have, a common trap when exploring teleprompter app features on marketing pages.
Match app complexity to your technical comfort level
An app with deep configuration options is only an asset if you will actually open those menus. If you record weekly and already juggle camera, lighting, and audio settings, a feature-dense tool may fit naturally into your routine. If you record once a month and need to be live in under five minutes, prioritize an interface that gets you from launch to scrolling in two taps. Be honest about the learning curve you are willing to absorb; an unused powerful app is functionally worse than a simple one you trust.
Write down your non-negotiables before browsing app stores
Turn your answers into a short written checklist—ideally no more than six items. Examples include “imports .docx scripts,” “no watermark on export,” “mirror mode for beam-splitter rigs,” and “runs two-hour sessions without overheating.” Having this list physically in front of you changes how you read reviews and pricing pages, because you stop evaluating everything and start evaluating only what matters. You can revisit and refine the checklist later, but writing it first gives every subsequent step a fixed reference point.
Step 2: Build a Shortlist From Public Reviews and Trial Versions
With your checklist in hand, move from research to a manageable shortlist rather than a permanent bookmark folder. Browse app stores and creator communities with your non-negotiables as filters, and pay attention to what recent users complain about after updates. According to public sources, recent reviews are more predictive of current performance than overall star averages, because a four-and-a-half-star aggregate can hide a broken scroll engine introduced last month. The aim here is three to five credible candidates, not a definitive ranking of the entire category.
Scan public app store ratings, recent reviews, and changelogs
Sort reviews by “newest” and read the one- and two-star entries first, since they expose current regressions rather than old bugs that may already be fixed. Look for recurring themes: stutter during long takes, lost scripts after an update, or ads that interrupt mid-sentence. Changelogs are equally valuable, because a version that just added cloud sync may have introduced battery drain that reviewers have not reported yet. Cross-check the same app across iOS and Android listings, since performance and pricing often differ between platforms.
Shortlist three to five candidates among the best teleprompter apps to keep comparison manageable
More than five candidates turns your evaluation into a part-time job and dilutes the attention each app receives. Choose a balanced mix: one free tool, one freemium option, and one or two paid contenders that fit your budget ceiling. If you want a broader landscape view before narrowing down, Discovering the Best Teleprompter Apps for Your Needs is a useful starting point. Write each candidate’s price model next to its name, because a free app with a paid unlock behaves very differently from a free trial.
Download free tiers or trials to test hands-on
Store descriptions describe intent; hands-on testing reveals reality. Install every shortlisted app and run the same ten-minute script through each one, noting how quickly you reach a comfortable reading rhythm. Watch for friction: buried settings, slow startup, missing import options, or an interface that makes you look away from the lens too often. This is also where you confirm whether the free tier is usable for your real work or merely a demo of the paid plan.
Step 3: Free vs Paid Teleprompter Apps—What Actually Differs
Price differences look dramatic on paper, but the practical gap between free and paid tiers is usually narrower—and more specific—than marketing copy suggests. Most disagreement comes down to three areas: visual branding, control depth, and how the developer monetizes your session. Understanding these dimensions helps you decide whether a paid plan solves a real problem or simply removes annoyances you could work around. For a deeper breakdown, see Free vs Paid Teleprompter Apps: Which One Should You Choose? and Free vs Paid Teleprompter App Comparisons for Creators.
Watermarks, export limits, and ad interruptions in free tiers
Free tiers commonly monetize through visible watermarks on recorded output, capped script length, or interstitial ads placed between sessions. For personal rehearsals or classroom drills, these limits are often harmless because nothing is published. For client work or monetized content, a watermark can be disqualifying and an ad that appears mid-take can ruin a long recording. Test the exact free-tier limitations yourself rather than trusting a blog’s summary, since they change frequently and vary by platform.
Scrolling controls, mirror mode, and script import in paid plans
Paid plans tend to gate the controls that power users depend on: fine-grained scroll speed, mirror mode for hardware rigs, voice-activated scrolling, and import from cloud drives or remote controllers. If your rig uses beam-splitter glass or an external display, mirror mode is not optional—it is the difference between reading naturally and fighting reversed text. Likewise, creators who script long-form videos usually need reliable document import instead of pasting text into a small editor box. Match these gated features against your Step 1 checklist to see what you would genuinely gain.
Subscription vs one-time purchase cost structures
Subscriptions usually bundle ongoing updates, cross-device sync, and cloud storage, while one-time purchases cost less over the long run but may receive slower feature development. A monthly fee is easy to justify if the app is central to weekly productions; it is harder to justify for a speaker who rehearses twice a year. Consider how frequently you rely on the tool professionally and how expensive a failed session would be. The cheapest option over three years is rarely the cheapest option in a single demanding quarter.
Where free apps are genuinely enough for your needs
If you record occasional talking-head videos, practice speeches, or teach a class with simple slides, a free app that scrolls smoothly and displays clear text may cover everything. Many creators start free and only upgrade after hitting a specific limitation, which is a perfectly rational path. Upgrade when a concrete friction appears—ads during long takes, an export cap, or missing mirror mode—rather than upgrading out of aspiration. That way, every dollar you spend maps to a problem you have actually experienced.
Step 4: Compare the Best Teleprompter Apps: Features Side by Side
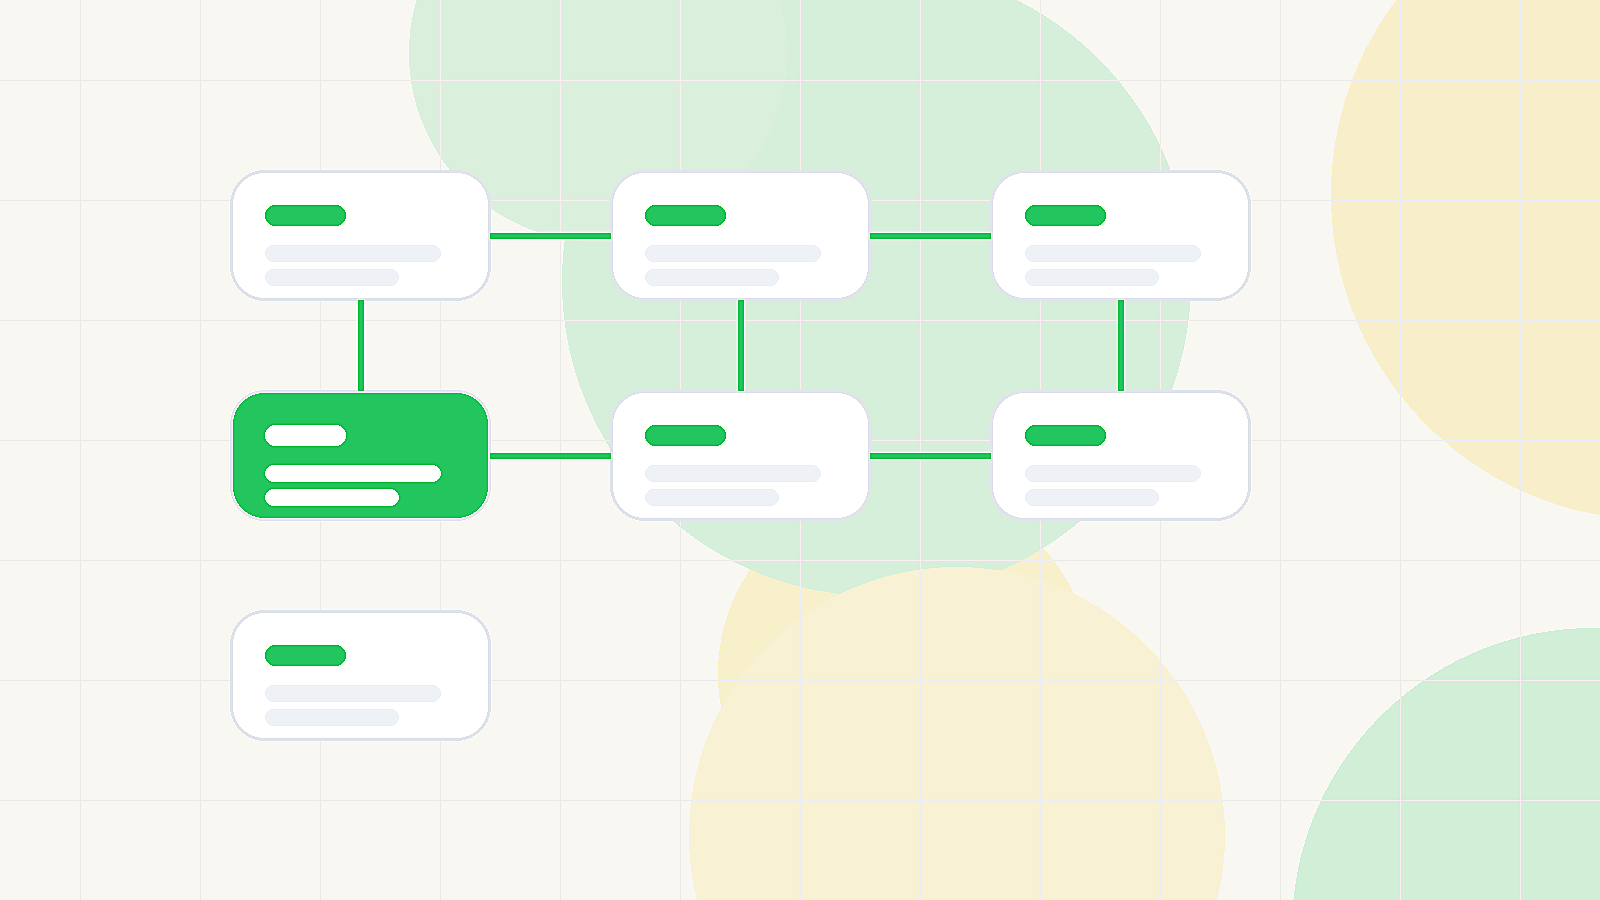
At this stage, move from impressions to evidence by building a simple feature matrix. List your candidates across the top and your non-negotiables down the side, then mark each cell yes, partial, or no based on hands-on testing rather than screenshots. A matrix keeps the comparison objective when a polished interface tempts you to forgive a missing capability. It also makes the final decision almost mechanical: the app that satisfies your must-haves with the fewest compromises wins.
Scroll speed, pause/resume, and countdown timers
Smooth, adjustable scrolling is the core of any teleprompter, so test speed ranges at both extremes and everywhere between. Pause/resume must be reachable without breaking eye line, ideally via a remote, keyboard shortcut, or voice command. Countdown timers help you begin composed instead of scrambling for the start button while the camera rolls. If an app forces you to look at the screen to regain control, it undermines the entire purpose of using a prompter.
Font sizing, line spacing, and background contrast options
Readability depends on typography as much as on screen brightness. Generous font sizes, adjustable line spacing, and high-contrast themes reduce eye fatigue during long takes and compensate for imperfect lighting. Dark backgrounds with light text usually produce fewer reflections when you shoot near a window or softbox. Try your actual script at your actual camera distance before judging, since text that looks comfortable on a phone in your hand may blur at arm’s length.
Script import from docs, cloud storage, and remote control support
Import options determine how much time you spend copying text instead of rehearsing. Look for support for common document formats, plain text, and direct pulls from cloud storage where your team already keeps scripts. Remote control support—Bluetooth clickers, smartwatches, or wireless keyboards—lets you keep your hands visible and your posture natural on camera. Together, these features decide whether the app feels like part of your production pipeline or an isolated island you retype into every session.
Multi-device mirroring and external display output
Advanced setups mirror the prompter to a tablet while a second display faces the talent, or route output to an external monitor near the lens. This is where hardware meets software, and it is worth reading Innovations in Teleprompter Technology to understand where app capabilities are heading. Confirm that your shortlisted apps support external displays, AirPlay or wireless casting, and stable mirroring without dropped frames. If your ambitions include a professional studio rig, this category should carry real weight in your matrix.
For guidance on structuring the matrix itself, the frameworks in Teleprompter App Comparisons: Finding the Best for You and Teleprompter App Comparisons: Features, Benefits, and More are worth a look, while Practical Insights on Teleprompter App Comparisons for Creators adds context on weighting priorities.
Step 5: Test Your Top Picks in Real Recording Conditions
A feature matrix tells you what an app can do; only a rehearsal tells you how it behaves when it matters. Test your final two or three candidates in the same room, with the same camera, under the same lighting you will use for the real shoot. Run the test at the time of day you normally record, since fatigue and ambient noise change your reading rhythm. Treat these sessions as rehearsals of the actual production, not as casual browsing with the app open.
Run a timed rehearsal with your actual script
Load the exact script you plan to record and time how long it takes from opening the app to finishing the read. Notice where you stumble: is it the text, the scroll, or your own delivery? A candidate that saves you five minutes of setup per session compounds into hours across a project. Keep notes in the same format for each app so the comparison stays apples-to-apples rather than anecdotal.
Test scrolling at your natural speaking pace
Set the scroll to your natural cadence, not to a speed that looks impressive in a demo. Read for several minutes and watch whether the text drifts ahead of you or lags behind, forcing rushed sentences or dead air. Some apps offer variable speed that responds to voice; others rely on manual nudges, which can be distracting on camera. Whichever you choose, confirm that adjustments are possible mid-take without breaking your eye line.
Check readability at your camera distance
Position the device exactly where it will live during the shoot, then step back to your mark and read. Test with your normal eyeline, because looking down or sideways changes how natural your delivery appears to viewers. If text is borderline, try increasing font size, raising contrast, or moving the display closer to the lens axis. What works at a desk often fails at three feet, and discovering that during the live shoot is avoidable with one rehearsal.
Evaluate battery drain, latency, and stability during longer takes
Run the app continuously for a session as long as your longest planned take and watch for heat, stutter, or unexpected reloads. Latency between tapping pause and the text actually stopping can be subtle but deadly during tight edits. Watch also for background notifications, screen dimming, or aggressive battery optimization that interrupts the read. These are the failure modes that reviews rarely mention and that only surface under sustained, realistic use—so document them while you still have alternatives on your shortlist.
If anything surprised you during testing, compare your notes against the warnings in Avoiding Common Pitfalls in Teleprompter App Comparisons, and revisit Effective Teleprompter App Comparisons: Best Practices Revealed for a disciplined scoring approach.
Step 6: Choose and Set Up Your Winner the Right Way
Choose the app that satisfies your non-negotiables with the fewest compromises, not the one with the longest feature list. Once selected, resist the urge to keep second-guessing; switching costs you the setup time and muscle memory you have just earned. Install it, complete any account setup, and immediately lock in the settings you validated during testing so future sessions start consistently.
Install, calibrate scroll speed, and import your script
Reproduce your rehearsal settings exactly: scroll speed, starting position, and countdown behavior. Import the script through the same route you plan to use in production, since a first-time import during a shoot is where delays creep in. Save a project or preset if the app supports one, so recurring formats do not need reconfiguration. A well-calibrated launch sequence turns a stressful recording day into a routine one.
Configure fonts, margins, and mirror settings for your rig
Set typography and margins for your real camera distance, and enable mirror mode if you use beam-splitter glass or an external display. Double-check that line breaks land where you want them, since awkward wraps can pull your eyes away from the lens. Store screenshots of your final settings as a reference for future devices or team members. For more context on configuration choices, Teleprompter App Comparisons: Finding the Best for You offers a useful decision framework.
Do a full dress rehearsal before the live shoot
Run the entire session end to end, with wardrobe, lighting, and audio in place, exactly as you will on the day. This is where you catch remaining surprises: reflections on the screen, a clicker that sleeps too quickly, or a script that runs longer than the take allows. Keep a printed or exported copy of the script within arm’s reach as insurance. A dress rehearsal costs thirty minutes and routinely saves an entire rescheduled shoot.
Step 7: Maintain Your Setup as Apps and Needs Evolve
App selection is not a one-time decision; it is a maintenance task. Developers ship updates that change pricing, remove features, or alter scrolling behavior, and your production needs will shift as your audience and team grow. Building small maintenance habits now prevents surprise breakage in the middle of a project.
Update the app and re-test after major releases
Install major updates shortly before a low-stakes session, not hours before an important one. Re-run your standard rehearsal script to confirm that scroll speed, fonts, and import still behave as expected. If an update introduces a regression, check whether a quick setting change fixes it or whether a rollback is possible. Apps update frequently, so periodic re-testing is the cheapest insurance against mid-project surprises.
Revisit your plan tier as your production scale grows
Revisit your subscription choice when you start client work, add team members, or increase your publishing cadence. Conversely, downgrade if a paid feature has gone unused for months and the free tier now covers your routine. Treat pricing reviews like any other budget line item: scheduled, evidence-based, and tied to actual usage rather than habit. Your needs in year two rarely match your needs on day one.
Keep a backup script export outside the app
Always keep a copy of every script in a location you control—a document in your cloud drive, a local file, or a printed page. Apps can fail, accounts can lock, and devices can die at the worst possible moment. A thirty-second export habit converts a potential disaster into a minor inconvenience. It also lets you move to a different app quickly if your top pick stops meeting your standards.
How the Best Teleprompter Apps Fit Into a Creator Workflow
A teleprompter app never operates in isolation; it sits inside a chain of camera, audio, lighting, and performance decisions. The right app reduces the number of things you must think about during a take, letting you focus on delivery and connection with your audience. Treat integration deliberately and the prompter becomes invisible infrastructure rather than a distracting gadget.
Integrating teleprompters with cameras, mics, and lighting
Position your display so the eyeline stays near the lens, and confirm that its brightness does not spill onto your face or blow out exposure. Coordinate audio placement so you are not leaning toward a microphone while reading away from it. Lighting should illuminate your face evenly without creating glare on the prompter screen, which usually means angling the display or using an anti-reflective cover. Small adjustments here noticeably improve how engaged your delivery feels on camera.
When to pair an app with hardware mounts or beam-splitter glass
For occasional talking-head videos, a tablet on a desk or a laptop below the lens is often sufficient. For high-end productions, a proper mount with beam-splitter glass places the text directly in front of the lens so your eye line never appears off-center. If you go this route, mirror mode becomes essential, and app choice should be filtered accordingly. Invest in hardware when your production quality or shoot frequency justifies it, not before.
Coaching students or team members on consistent app settings
Shared settings keep a team’s output visually consistent and reduce onboarding time for new presenters. Document your chosen font, margins, scroll speed, and import workflow in a one-page guide anyone can follow. When educators or colleagues reuse the same preset, sessions start faster and delivery stays uniform across recordings. Consistency at this level is what separates a reliable production process from a series of one-off experiments.
Conclusion
Selecting from the best teleprompter apps does not have to be a guessing game. By defining your needs, building a shortlist, weighing free vs paid teleprompter apps honestly, comparing teleprompter app features in a simple matrix, and testing candidates under real recording conditions, you turn an overwhelming marketplace into a confident decision. Revisit your choice periodically as your audience, production scale, and the apps themselves evolve—your on-camera clarity will thank you.
Put the process to work today: write your non-negotiables, shortlist three to five candidates, and schedule one timed rehearsal with your real script this week. Momentum beats research paralysis, and the app that survives a genuine test is the one worth keeping.
Frequently asked questions
Can a teleprompter app work with Zoom or other live video calls?
Yes, but you need an app that offers a floating or overlay window mode so the script can sit on top of the meeting software. Apps that only show text in full screen are useless for live calls, so check for ‘overlay’, ‘floating window’, or ‘always on top’ features before committing. On mobile this is harder, since most platforms don’t allow overlays; a second device is usually the simpler fix.
Are free teleprompter apps good enough for YouTube videos?
Free versions are usually enough for casual creators, since they cover scrolling text and basic speed control. What you give up is typically mirroring for beam-splitter rigs, remote control support, watermark-free recording, and saved unlimited scripts. If you publish regularly, those paid features save more time than they cost.
How do I avoid sounding like I’m reading from a script?
Set a larger text size and a slightly slower scroll speed than feels comfortable, so you can deliver lines instead of chasing words. Place the device or prompter glass as close to the camera lens as possible to keep your eyeline natural. Reading the script aloud once before recording also smooths out pacing and makes the delivery sound conversational.
Can I use my phone as a teleprompter for a DSLR or mirrorless camera?
Yes, but a phone alone will not work well because you would be looking beside the lens, not into it. Pair the app with a beam-splitter teleprompter rig that mounts over the lens, or mount the phone directly above or below the camera for a close-enough eyeline. The app needs a mirroring option so the reflected text reads correctly in the glass.
Do teleprompter apps work without an internet connection?
Most do, because the script is stored and rendered locally on your device once it is saved. The main exception is web-based prompters that load in a browser tab and cloud-synced apps that require a login to open your scripts. Download or paste your text before leaving a reliable connection if you shoot on location.
Recording with a script? Try Lumi.
Keep your script near the camera and out of your final video. Try free for 3 days.
Learn more