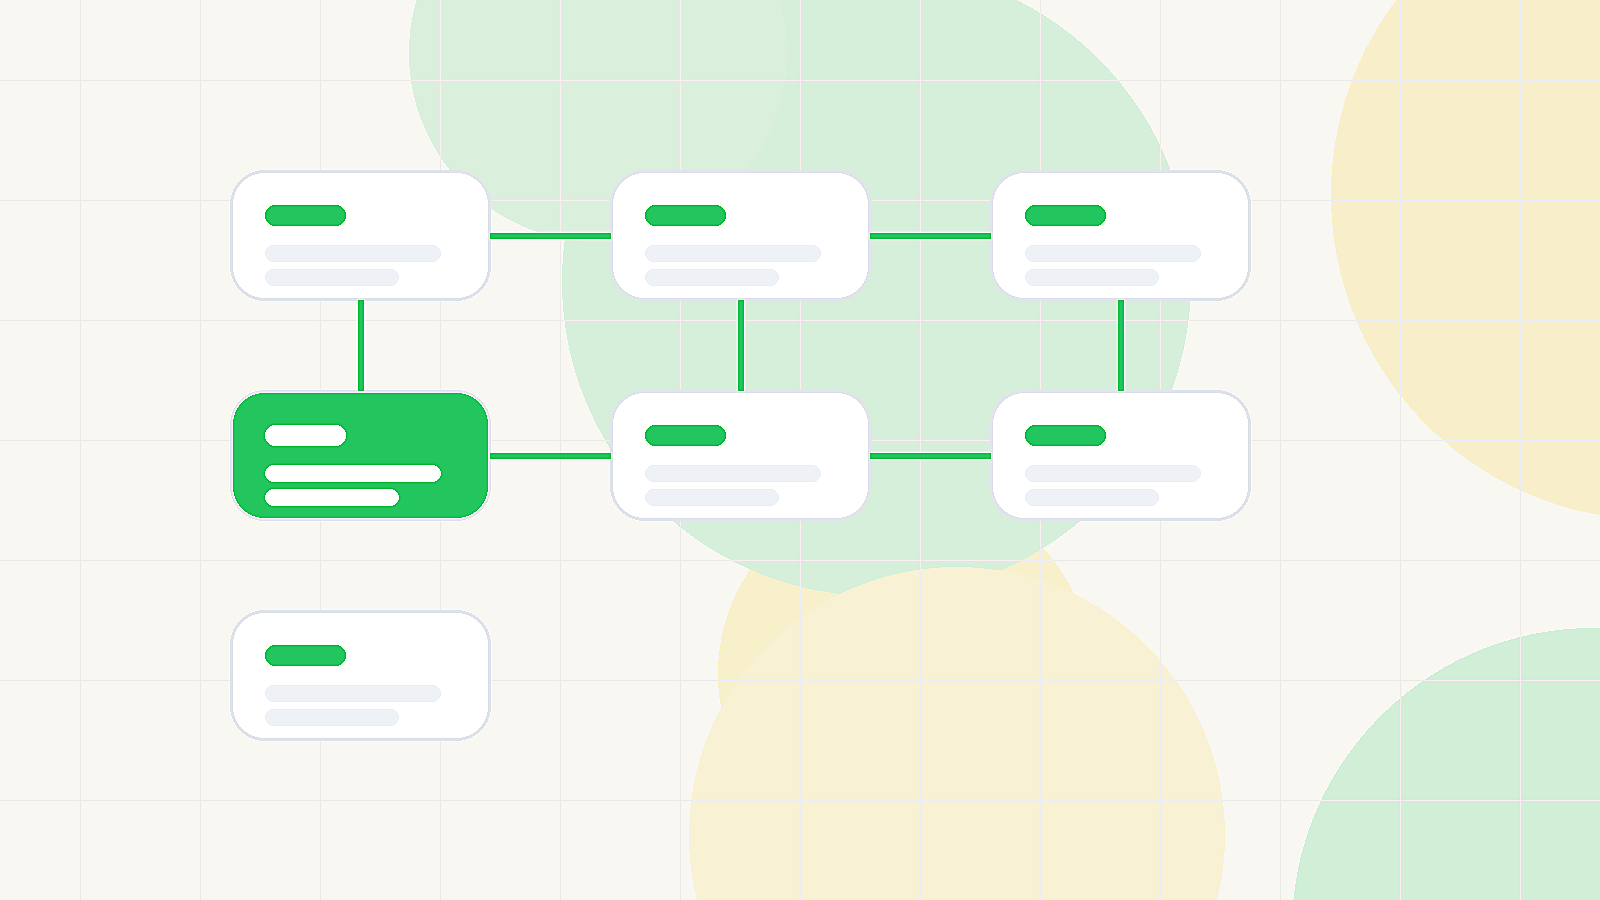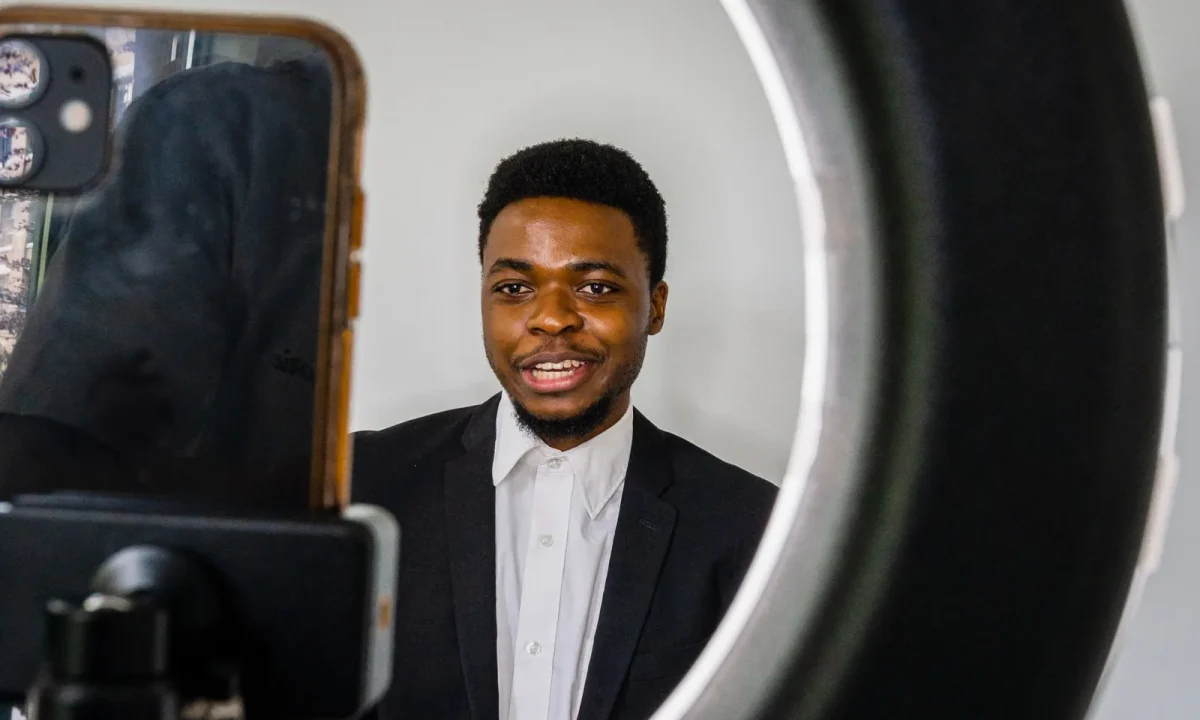
Most creators learn a handful of teleprompter tips, try them once, and abandon the tool when results feel inconsistent. The truth is that teleprompter best practices work as a layered system: each layer — script, hardware, software, delivery, environment, practice routines, and review — amplifies the others. This guide breaks down each layer with teleprompter tips for beginners and teleprompter efficiency techniques you can stack together, so your setup becomes predictable instead of stressful.
Why Teleprompter Best Practices Are a System, Not a Checklist
Treating teleprompter guidance as a checklist invites the exact inconsistency most people complain about. When you fix one variable at a time without understanding how the layers interact, you get improvements that evaporate the moment something else changes — a new script length, a different room, a rushed recording day. Thinking in systems means asking, at every problem, which layer is actually responsible, and which layers are amplifying the symptom.
How script quality, hardware, and delivery depend on one another
A brilliant camera rig cannot rescue a script written in long, clause-heavy sentences, because the presenter’s eyes are forced to track dense text and the voice inevitably flattens. Conversely, a beautifully written script still sounds stiff if the prompter sits three inches away from the lens, because eye contact breaks every time you glance sideways. Delivery sits downstream of both: pacing improves almost automatically when the text is short and the glass is aligned, and it collapses when either variable drifts. When people say “the teleprompter doesn’t work for me,” they are usually describing a cross-layer failure, not a single broken component.
Common failure points when practices are applied in isolation
The most common isolated fix is buying better hardware to solve a script problem. Presenters upgrade to an expensive beam-splitter rig, then discover that their delivery still feels robotic — because the root cause was phrasing, not equipment. Another frequent mistake is cranking scroll speed faster to “keep up” with a wordy script, which produces the rushed, breathless tone audiences associate with reading. For a fuller catalog of these patterns, see Why Essential Tips Fail: Common Teleprompter Mistakes.
How to audit your current workflow against each layer
Start by recording one unedited take and reviewing it with the seven layers in mind, in order. Write one observation per layer: is the script conversational? Is the camera centered on the glass? Are the app defaults consistent? Is your breathing audible? Is there glare? Did you warm up? What would you change next time? This short audit converts vague frustration into a prioritized repair list, and it prevents the classic trap of re-buying gear you did not actually need.
Layer 1: Writing Scripts the Prompter Can Actually Serve
No amount of equipment compensates for a script that fights the medium. Prompter-friendly writing is not “dumbed down” writing — it is speech-optimized writing, designed for the eye to track and the lungs to sustain. Get this layer right and most on-camera problems shrink before you touch a single setting.
Teleprompter tips for beginners: short sentences and natural phrasing
Aim for sentences of roughly ten to fifteen words, and break at every natural breath point rather than at grammatical ones. Contractions, concrete verbs, and second-person phrasing all help because they mirror how people actually talk, which reduces the “reciting” quality listeners detect instantly. If a sentence makes you run out of breath, it will make you sound out of breath on camera, no matter how polished the production looks.
Formatting rules: line breaks, emphasis markers, and numbers
Format the script so the eye never has to search: one idea per line, generous line breaks between thoughts, and a hard return after any sentence longer than two lines. Use simple emphasis markers — capitalized words, asterisks, or bold text, depending on your app — rather than trying to remember nuance from memory. Write numbers the way you will say them (“twenty-three” rather than “23”), and spell out acronyms phonetically if they are easy to misread at speed.
Teleprompter efficiency techniques for editing scripts faster
Write the first draft for the ear, then do a dedicated “prompter pass” that only touches readability: shorten sentences, add line breaks, and insert breath marks. Keep a personal phrase bank of transitions and calls to action you reuse, so recurring elements do not have to be rewritten each session. Templates are the quiet engine behind Mastering Teleprompter Usage, because they make good formatting the default instead of a daily decision.
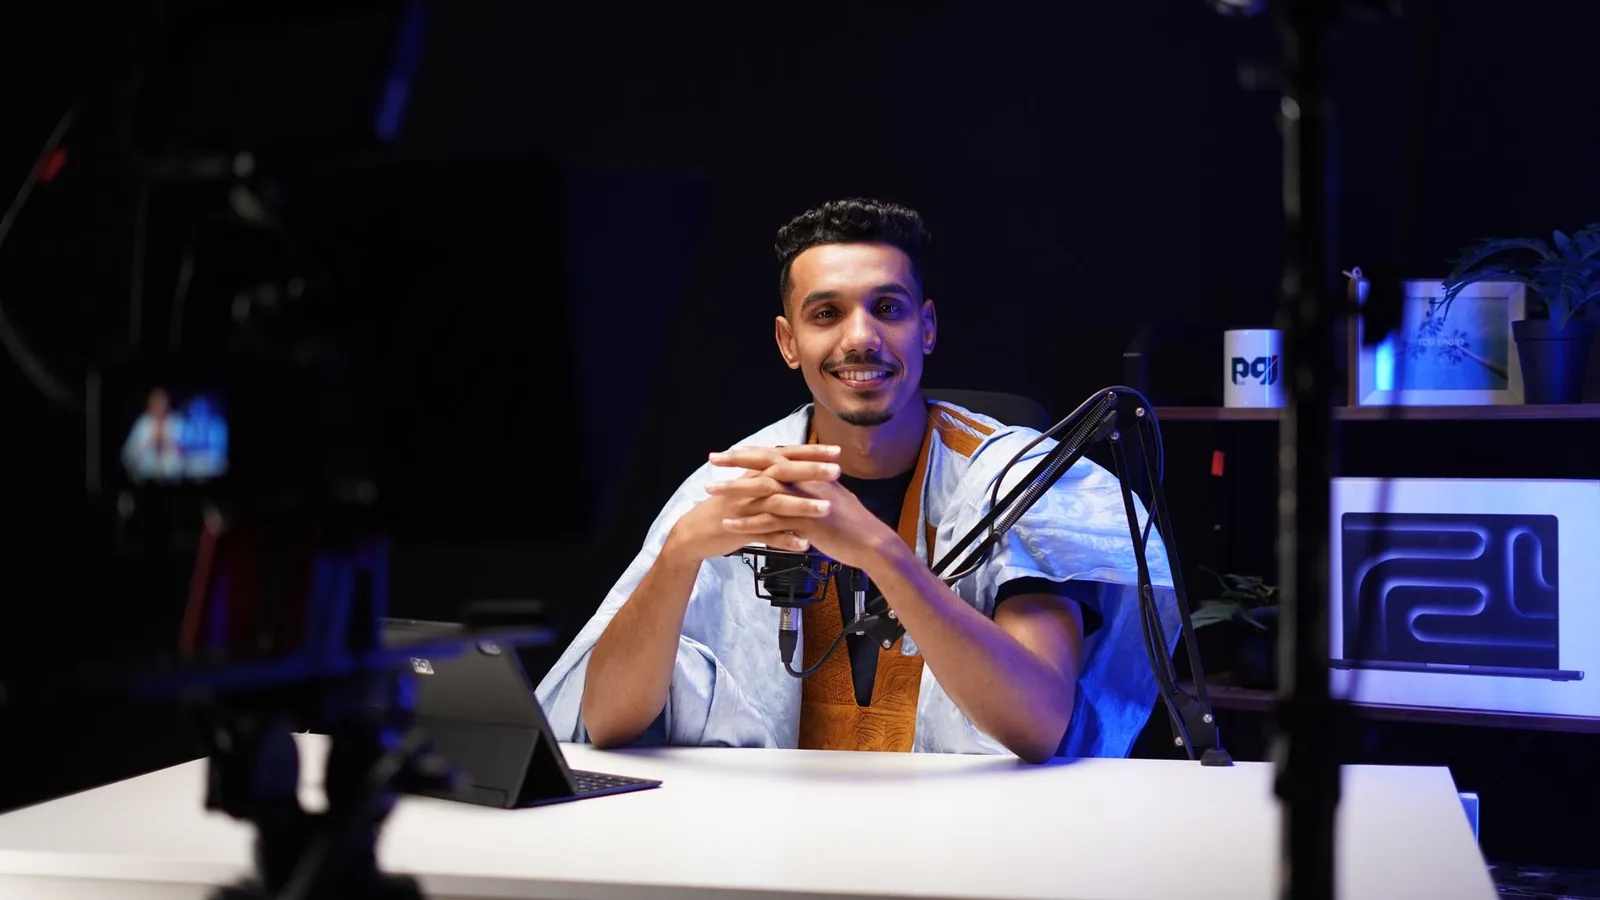
Layer 2: Hardware Placement and Ergonomics
Hardware is the layer most creators over-invest in and under-align. The goal is not the most expensive rig; it is geometry — glass, camera, and eyes arranged so that looking at the text is nearly identical to looking at the audience. When the geometry is right, even modest equipment produces convincing eye contact.
Positioning the glass, camera, and light to protect eye contact
Place the prompter glass directly in front of the lens, at the same height as your eyes, so the reading line never forces a visible head turn. Keep the distance short — the closer the text is to the lens, the smaller the offset an audience perceives. Then position your key light so it does not bounce off the glass and create the milky haze that makes footage look cheap.
Adjusting stand height and distance for different presenters
Set stand height so your eye line lands slightly above center on the text block; slumping toward a low prompter compresses the diaphragm and dulls vocal energy. Adjust distance until you can read comfortably without leaning, squinting, or tilting your chin. If multiple people record at the same desk, mark heights and distances with tape so changeovers take seconds instead of minutes.
Portable setups: phones, tablets, and budget rigs that still work
A tablet in a hood placed directly in front of the lens can produce professional results, provided brightness is high, font size is generous, and the rig does not wobble. Stability matters more than price: a cheap tripod with a locked phone beats a premium rig with a drifting mount. For a deeper breakdown of budget configurations, see Essential Teleprompter Tips for Beginners to Enhance Presentations.
Layer 3: App Settings That Remove Friction
Once the text and the geometry are sound, the app should disappear. Every manual adjustment mid-take — reaching for a phone, guessing at speed, squinting at margins — breaks presence and costs retakes. The fix is to configure once, save, and never think about it again.
Scroll speed, font size, and margins explained clearly
Set scroll speed to what your natural speaking pace produces, not to what feels fast enough; if you finish a line before it scrolls past, slow down the app rather than speeding up yourself. Choose a font size you can read while relaxed, then widen margins so lines are short enough for comfortable saccades. High contrast text on a dark background reduces eye fatigue over long sessions.
Voice-follow and remote-control options compared
Voice-follow modes sync scrolling to your speech and work well for expressive presenters who vary pace, but they can stutter if room noise or music confuses the microphone. A foot pedal or clicker offers deterministic control and is ideal for scripted, tightly timed recordings. Choose based on your delivery style, and always keep a manual override ready for live contexts where failure is not recoverable.
Saving presets so every session starts consistently
Create named presets for your common formats — short vertical clips, long-form tutorials, live Q&A — and never record outside them. Consistent starting points eliminate the ten-minute setup drift that eats into recording energy and morale. The same preset discipline underpins Essential Tips for Effective Teleprompter Usage Explained.
Layer 4: Delivery Techniques On Camera
With the system aligned, delivery becomes the deciding factor between a good take and a usable one. The audience forgives imperfect lighting far more readily than it forgives a voice that sounds like it is reading. Delivery is trainable, and the training is mostly physical.
Pacing, pauses, and breathing without sounding scripted
Leave a deliberate beat after each sentence — long enough to feel slightly uncomfortable in the room, because the camera compresses it. Breathe through the nose on line breaks instead of gasping audibly on mic, and let your emphasis land on content words rather than evenly across the line. Vary pitch at the start of each new thought; monotone is the true signature of prompter reading.
Rehearsal drills that build speed and confidence
Run one silent read to mark breath points, one out-loud read at recording speed, and one “smile pass” where you focus only on facial warmth and gestures. Those three passes cost minutes and remove most flubbed lines. For a structured progression, follow Essential Tips, Step by Step, for Teleprompter Success.
What to do when you lose your place mid-take
Do not stop and apologize — pause, look slightly above the text to reset your eye position, and re-enter at the last sentence boundary you clearly remember. Mark your script with numbered sections so recovery points are obvious. Then keep rolling; editors cut silence far more easily than they repair visible panic.
Layer 5: Environment, Audio, and Lighting Factors
The room around the rig silently determines whether your layered work survives to the final file. Glare, reverb, and inconsistent lighting each degrade recordings in ways that feel technical but are almost always fixable with angles and placement. Build the environment deliberately and it stops being a variable.
Reducing glare on prompter glass with lighting angles
Keep key lights off-axis, roughly forty-five degrees to the side and above eye level, so their reflection never lands in the camera’s view of the glass. Kill overhead fluorescents that create broad, uncontrolled reflections, and use matte black fabric behind the rig to absorb stray light. If haze persists, tilt the glass by a fraction of a degree — small changes often eliminate it entirely.
Microphone placement for natural-sounding narration
Place the microphone close enough for presence — a lavalier at the collar or a shotgun just out of frame — so you never have to project artificially to be heard. Over-projecting is one of the fastest ways to make prompter delivery sound forced. Reduce room reflections with soft surfaces nearby, since a dead room makes reading sound intimate rather than distant.
Setting up a repeatable studio routine for daily recording
Write a laminated setup card: lights on in sequence, mic check, preset loaded, white balance locked, test take, then record. Repetition removes decision fatigue and keeps energy for content. Similar day-to-day systems are covered in Boost Your Presentations with Effective Teleprompter Techniques.
Layer 6: Practice Routines and Efficiency Techniques
Skills decay without reps, and recording quality is ultimately a practice problem. Structured, short routines outperform occasional long sessions because they keep the neuromuscular habits — breath, pace, eye position — primed. The efficiency gain shows up later, in far fewer retakes.
Teleprompter efficiency techniques: the five-minute warm-up used by working presenters
Two minutes of jaw and lip loosening, one minute of breath pacing drills, one minute reading a familiar script at target speed, and one minute of silent rehearsal with gestures. This sequence warms the voice, the eyes, and the body simultaneously, which is exactly what a take demands. Most presenters report noticeably smoother first takes once the warm-up becomes automatic.
Batch reading and recording to save editing time later
Group scripts by lighting and wardrobe setup, then record them back to back so every environment change happens once instead of twenty times. Read multiple takes of a single section consecutively while your pacing is calibrated, rather than returning to it hours later. Batching converts the teleprompter from a per-video tool into a production-line asset.
Tracking progress with a simple self-review sheet
Keep a one-page sheet with five columns — one per habit you are training — and score each take out of three. Over a month, patterns appear: perhaps pacing is fine but eye contact drifts after minute three. That specificity keeps practice honest, a discipline described further in Teleprompter Efficiency: Essential Tips You Can Apply Now.
Layer 7: Review, Iteration, and Long-Term Improvement
The final layer turns a working setup into a career-long advantage. Without structured review, small regressions accumulate — a slightly too-fast preset, a creeping light angle, an old script habit — until quality quietly declines. Review is where layers get re-tuned against each other.
Reviewing footage against each best-practice layer
Watch takes with the seven layers as a scoring rubric, and grade each one independently so you can see which layer caused the visible problem. Ask a colleague to watch a few times without knowing what to look for; fresh eyes catch reading artifacts you have trained yourself to ignore. A rubric-based approach is central to Mastering Teleprompter Best Practices for Effective Presentations.
When to change hardware versus when to fix habits
Replace hardware only when a layer is physically incapable of meeting your needs — a rig that cannot hold the lens offset, an app with no remote control, a stand that will not reach your height. If the equipment can do the job and the take still sounds flat, the problem is habit, and no purchase will fix it. Distinguishing the two saves money and shortens your improvement curve.
Building a personal playbook that scales with new projects
Document your presets, script template, lighting diagram, warm-up sequence, and review rubric in one document, then update it after every project. That playbook becomes the operating system behind Practical Application of Essential Tips for Teleprompter Use, and it lets you hand work to collaborators without losing quality. As your ambitions grow, the playbook scales: new formats get new presets, not new chaos.
If you are still building the foundation, complementary reading includes Essential Tips for Effective Teleprompter Best Practices, Essential Tips for Mastering Teleprompter Usage Effectively, and this overview of teleprompter best practices as they apply to daily production.
Conclusion
Teleprompter best practices only deliver results when they function as a connected system. Start by improving one layer at a time — most people begin with script formatting, since it fixes the majority of on-camera struggles — then move through hardware, app settings, delivery, environment, practice, and review. Over a few weeks of consistent use, these layered habits turn the teleprompter from a source of anxiety into a reliable tool that saves time and improves every take.
Frequently asked questions
What reading speed should I set my teleprompter to?
Start around 130–150 words per minute, which matches natural conversational speech for most presenters. Rather than locking in one speed, use a scroll speed you can slightly outrun so you stay in control and can pause without fighting the software. Rehearse at a slightly faster setting than you plan to use on camera so the real pace feels relaxed.
How far should the teleprompter be from the camera lens?
Place the script as close to the lens as physically possible—ideally within a few inches—so your eye line reads as direct to the audience. The bigger factor is distance from you to the prompter: six to eight feet is a common starting point, because it keeps eye movement between lines small and natural. If you must stand closer, widen the text and increase font size so your eyes don’t visibly scan across the screen.
Should I script in full sentences or short phrases?
Break your script into short, conversational chunks of three to seven words rather than long grammatical sentences, and avoid paragraph blocks entirely. Write the way you actually speak—contractions, casual transitions, and phonetic spellings for names you stumble over. This formatting gives your delivery natural pauses and rhythm instead of the monotone cadence that full sentences tend to produce.
How do I keep from sounding like I’m reading?
Deliberately vary your pace, pitch, and pauses at punctuation marks rather than reading at a uniform speed, and rehearse the script aloud at least three times before recording. Keep your chin slightly up and your eyes soft—hard, fixed staring is what telegraphs reading to viewers. If possible, mark the script with emotional cues or bold emphasis words so your performance has intentional variation.
What font size and text formatting works best on a teleprompter?
Use a large, clean sans-serif font—typically 44 to 72 point depending on your distance from the screen—with generous line spacing so you can always see the line above and below where you’re reading. Avoid centering the text; left-align it with a consistent starting point to reduce horizontal eye movement. High contrast (white or yellow text on black) reduces eye strain over longer takes.
How do I recover if I lose my place mid-take?
Keep a small script backup or bullet-point outline visible off-camera so you can re-anchor quickly without going fully blank. When you lose your place, stop, pause for a beat, and restart the sentence from the top rather than trying to improvise a bridge—it’s far easier to edit later. Most prompter software also lets you mark section headers or use a ‘bookmark’ function to jump to known anchor points.
Recording with a script? Try Lumi.
Keep your script near the camera and out of your final video. Try free for 3 days.
Learn more