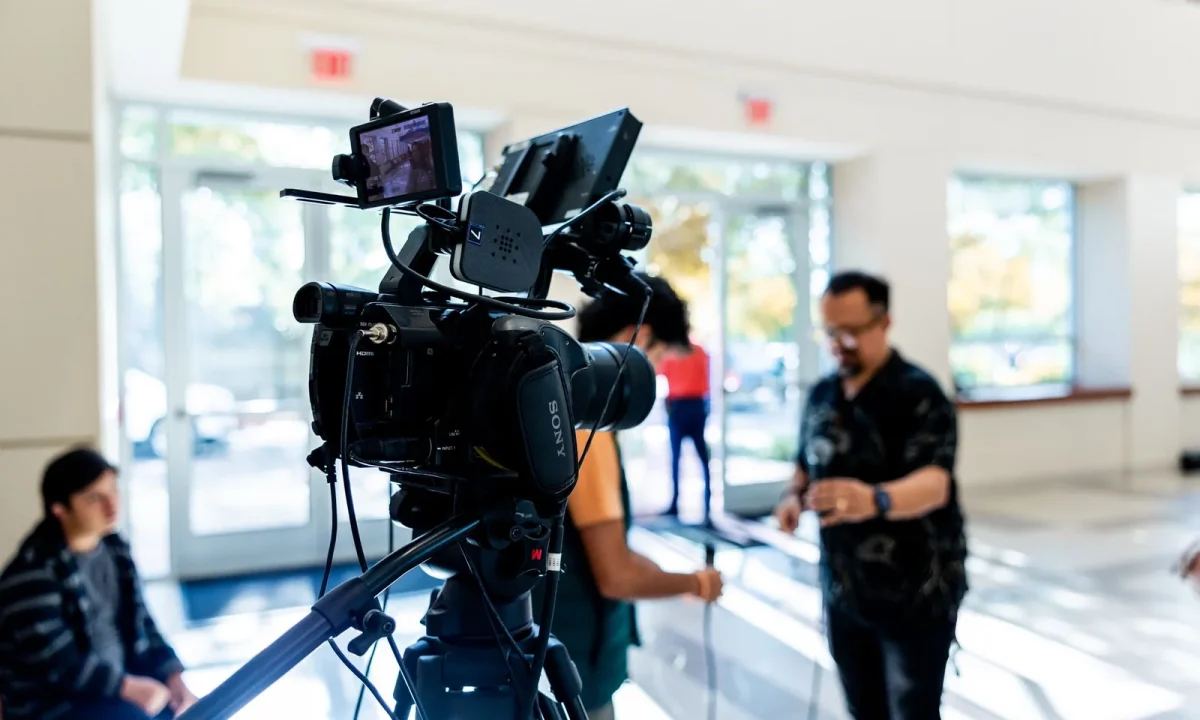
Interviews reward preparation, but reading a script while staying present with your guest can be genuinely difficult. A teleprompter for interviews keeps your questions, follow-ups, and key talking points in view so you can focus on the conversation instead of shuffling paper or squinting at cue cards. In this guide we walk through practical, real-world steps for setting up, scripting, and delivering interview content with confidence, plus how the same techniques apply to teleprompter for presentations and teleprompter for vlogging workflows. Whether you are recording a sit-down conversation in a studio or conducting a remote call, the goal is the same: preparation that supports presence rather than competing with it.
Why Use a Teleprompter for Interviews
The most common objection to prompting equipment is that it will make the host sound rehearsed or robotic. In practice the opposite tends to happen: when your structure is visible, you stop spending mental energy trying to remember what comes next, which frees you to listen more carefully to the answer you just received. That shift in attention is what viewers actually notice. A guest can tell when a host is mentally flipping pages, and that small hesitation changes the tone of the exchange. The prompter absorbs the logistics so your face, tone, and timing can do the relational work.
There is also a practical dimension. Interviews rarely go exactly as written, and a structured set of questions on the glass lets you confirm where you are without breaking eye contact for long. You can jump ahead if an answer covers a topic early, or hold a question for later if the conversation builds toward it naturally. The prompter becomes a roadmap rather than a recital script, which is precisely the mindset that keeps the exchange feeling spontaneous while remaining deliberate underneath.
Keeping focus on your guest instead of your notes
When questions live on a stack of paper on your lap, your eyes drift downward and your body language closes off. Mounting those same questions at eye level, next to the lens, means your gaze stays up and your posture stays open. Because the text is where your camera is, every glance toward your notes still reads as attention directed at your guest. This is the core reason interviewers adopt prompting tools: not to hide a lack of preparation, but to make preparation invisible on screen.
Staying on track with structured questions and follow-ups
A good interview has an arc — opening context, deeper exploration, a couple of harder questions, and a clean close. Without a visible structure it is easy to open too broadly, spend ten minutes on background, and never reach the substance you planned. Writing your sequence into the prompter with brief follow-up cues keeps that arc intact. You can still chase a fascinating tangent, because you can see exactly where you will resume and which remaining questions still need attention before the recording ends.
Maintaining consistent delivery across multiple takes
Many interviews involve pickups: a re-recorded intro, a corrected answer, or a second take of the same segment for editorial safety. Delivering those in the same rhythm as the original take is far easier when the pacing guide is identical each time. The prompter gives you a repeatable tempo, so a reshoot matches the earlier footage instead of sounding noticeably faster or slower. Consistency also helps when you are producing a series, where each episode should feel like it belongs to the same show.
Choosing the Right Setup for Your Interview
There is no single correct configuration, because requirements vary by production context: a single-camera studio interview, a two-camera in-person conversation, and a remote video call each call for slightly different equipment. Broadly you are choosing between a dedicated autocue or beam-splitter rig that sits in front of your lens, an app-based prompter on a tablet or laptop, and a lightweight device-mounted option attached directly to the camera. Each option trades off cost, portability, and how close the text sits to your eye line, so pick based on where you record and how often, rather than on feature lists alone.
Comfort matters more than specifications for long sessions. An interview that runs an hour can expose small annoyances — text that is too small to read at your seating distance, a scroll you cannot pause quickly, or a mount that sags slightly and pulls your eye line off center. Whatever you choose, test it with a full-length rehearsal in your actual recording space before the guest arrives. If you would like a broader comparison of categories and use cases, our guide to which teleprompter for video formats fits your project walks through that decision step by step.
Autocue versus app-based and device-mounted options
Autocue-style setups usually provide the most comfortable reading distance and the most stable glass, which helps when you are seated further from the camera or working with a co-host. App-based prompters are more flexible: you can run them on a tablet propped near the lens, adjust scroll and font in seconds, and travel with the whole setup in a laptop bag. Device-mounted rigs are the most compact option and work well when space is tight. The trade-off across all three is the same — stability and comfort increase with size, while portability decreases.
Positioning the prompter close to the camera lens
Placement is the single highest-leverage adjustment you can make. The closer the text sits to the lens, the smaller the gap between looking at your words and looking at the camera, and the more natural your eye line appears to the audience. Keep the glass or device as tight to the lens as your rig allows, then set the text distance so you can read comfortably without leaning forward. Leaning introduces posture changes that read as stiffness on camera, and a cramped neck becomes more obvious the longer the interview runs.
Adapting the Teleprompter for Interviews Setup for In-Person, Remote, and Solo Formats
For in-person interviews, the prompter typically sits behind the lens while your guest faces you, so your glances read as engagement with them. For remote interviews, place a prompter app or browser-based window on a secondary screen positioned as close to your webcam as possible; the same eye-line principle applies, just on a different device. For solo or self-taped formats — an introduction, a solo segment, or a talking-head insert — you can bring the text much closer to the lens and use a slightly smaller font, since you control the pace entirely. If you are still defining your workflow, How to Use a Teleprompter for Interviews: A Complete Guide covers setup decisions in greater detail.
Scripting Questions for the Prompter
The script you write for an interview is not a monologue — it is a set of signposts. Your main question should be written out precisely, because clarity on the glass prevents you from paraphrasing yourself into a rambling sentence while the guest waits. Around that core question, add short cues: a follow-up angle you might pursue, a name or date you tend to forget, or a reminder to ask for a specific example. This structure lets you read the essential words and improvise everything else, which is what keeps the exchange conversational rather than recited.
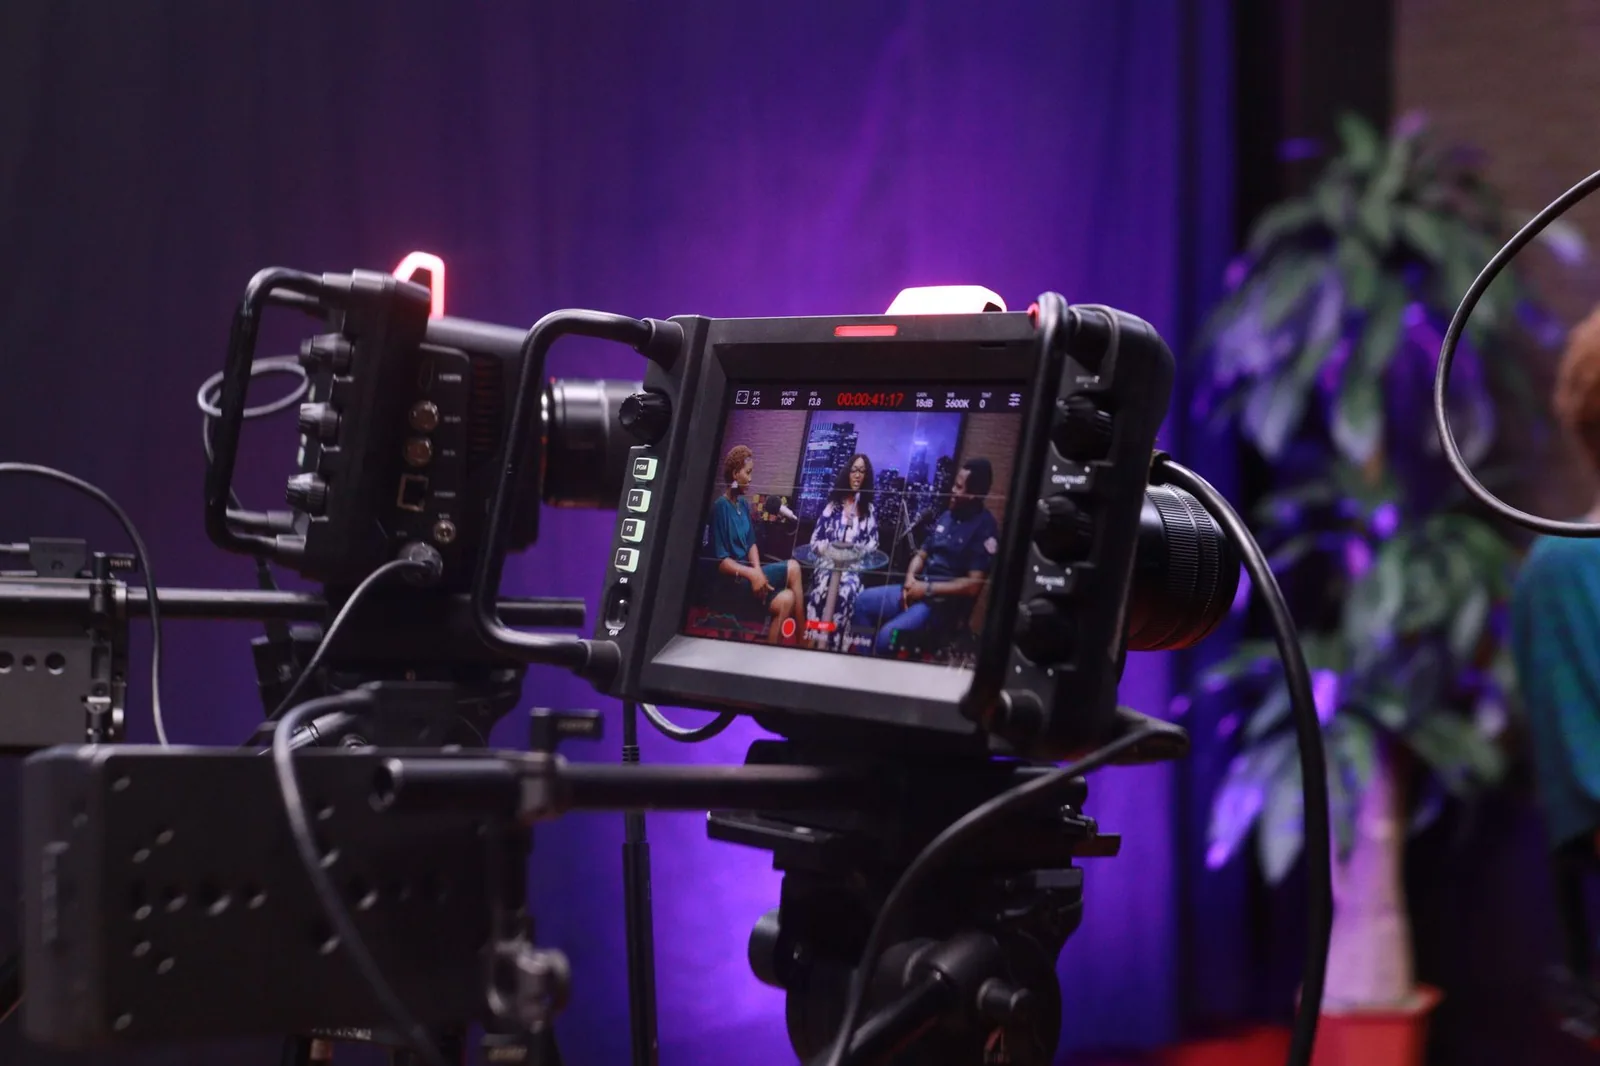
Length discipline is essential. Long paragraphs force you to read faster than you would ever speak, and the moment you fall behind, your delivery flattens. Write in the rhythm you actually use when talking to someone across a table. The scripting habits that serve this format are the same ones used elsewhere: Mastering the Teleprompter for Presentations: A Comprehensive Guide recommends short lines and marked pauses, and The Ultimate Guide to Using a Teleprompter for Vlogging applies the identical principle to unscripted-feeling solo content.
Writing short, conversational question lines
Break every question onto its own line and cap it at a length you can say in one breath. If a thought needs two sentences, give it two lines rather than wrapping it into a dense block. Conversational phrasing helps too: “What changed after that launch?” reads faster and sounds warmer than a formal construction. Short lines also reduce the risk of losing your place, because your eye returns to a predictable starting point on the left margin every time.
Adding cues for follow-ups and timestamps
Follow-up cues work best when they are visually distinct from the main question. Many interviewers place them in brackets or on an indented line, so a quick glance tells them whether they are reading the required question or an optional direction. Timestamps help for recorded formats where you may need to reference segments later in editing. If your production workflow depends on segment structure, Teleprompter for Video Formats: A Step-by-Step Workflow shows how to build those markers into a repeatable process.
Marking sections you plan to skip or reorder
Interviews are living documents. Mark optional sections clearly — a bracketed “[IF TIME]” tag or a highlighted color block — so you can drop them without losing your place when you come back. Reordering cues are equally useful: a small arrow or a note like “move after Q4” lets you restructure mid-conversation while keeping the flow smooth. Planning for flexibility on the page is what makes flexibility on camera look effortless.
Practicing Delivery Before You Record
Rehearsal does not need to be a memorization drill. Ten focused minutes with the prompter running will teach you more than an hour of silent reading, because the skill you are building is coordination — eyes moving, voice pacing, and attention returning to your guest. Start by reading your questions aloud at a natural speed and notice where the text outruns you. Adjust, read that section again, and move on. Small, repeated passes beat long sessions where you become tired and start performing on autopilot.
Adjusting scroll speed to a natural speaking rhythm
Set the speed to match how you actually speak, then test it on your hardest section rather than your easiest opening. Interview pacing includes pauses — you are listening between questions — so a moderate speed that you can pause and resume easily usually works better than a fast crawl. If you find yourself rushing answers to catch the text, the scroll is too quick. If you are waiting at the end of lines, it is too slow; either way, the fix takes seconds and improves every take after it.
Rehearsing with eye contact in mind
Practice glancing rather than staring. Read a phrase, lift your eyes to the camera or your guest, deliver, and return to the text — that rhythm is what separates natural delivery from a read-aloud. A mirror or a second camera can reveal how much your eyes move; most people find they need fewer glances than they expected once the phrasing becomes familiar. For eye-line technique applied to solo content, How to Use a Teleprompter for Various Video Formats Effectively expands on the same drill.
Recording a test run and reviewing the footage
Record a short test with your real camera, lighting, and seating position, then watch it back with sound. You are checking for specific things: whether your eyes drift off frame, whether your cadence speeds up, and whether the text is legible at your actual reading distance. Review is where you catch problems that are invisible in rehearsal — glare on the glass, a font that blurs slightly, or a scroll that hitches at a section break. Fixing one issue per test run compounds quickly.
During the Interview: Staying Natural and Flexible
Once recording starts, treat the prompter as a safety net rather than a script you must honor. Your primary attention belongs to the guest; the text is there for orientation. If you are building a broader on-camera habit set, the principles in Mastering Teleprompter Usage cover the fundamentals that make this easier over time, including pacing, eye line, and confidence with equipment.
Glancing at the prompter without breaking engagement
Brief, periodic glances read as thoughtfulness; sustained reading reads as disengagement. Land your eyes on the text only long enough to capture the next question, then return to your guest before you begin speaking. Pausing for a beat after looking back actually helps — it signals that you are considering what was said, and it gives your eyes time to refocus. Over the course of an interview this rhythm becomes automatic, especially if you rehearsed it.
Pivoting when the guest goes off-script
The best interviews usually contain a moment your script did not predict. When that happens, follow it. Your prompter still holds every remaining question, so there is no cost to spending three extra minutes on an unexpected answer. Glance down, identify which planned questions are still relevant, and rejoin the structure when the moment peaks. Flexibility is not a failure of preparation; it is what preparation is for.
Pausing and re-cueing if you lose your place
If you lose your spot, stop looking for it in a panic. A short, natural pause rarely reads as an error on camera — audiences interpret it as listening. Take a breath, glance at your guest or your notes, and let the prompter scroll to a clear cue point, ideally a marked section header or a question written on its own line. Having a producer or helper call out the next question quietly works equally well in live settings.
Troubleshooting Common Interview Prompter Problems
Most prompter problems announce themselves through symptoms you can diagnose in seconds: you are squinting, you are rushing, or you keep losing your place. Each symptom has a specific remedy, and addressing them before the guest arrives prevents a mid-interview scramble. Below are the issues that come up most often in interview environments, along with fixes that require only a few minutes of adjustment.
Text size, contrast, and glare issues
If the text looks soft or washed out, the cause is usually one of three things: the font is too small for your reading distance, the contrast between text and background is too low, or light is reflecting off the glass. Increase the font until you can read it comfortably while sitting back in your normal position, then switch to a high-contrast pairing such as white text on a near-black background. For glare, reposition a nearby window or lamp, tilt the glass slightly, or adjust your key light so it does not bounce into the prompter face.
Scroll timing that feels too fast or too slow
Scroll problems almost always trace back to rehearsing without your actual delivery. Speed up only if you are consistently waiting at line ends; slow down if you are skipping words to keep up. Many interviewers prefer a manual or tap-to-advance control during conversations, because natural pauses vary in length when a guest is speaking. If your tool supports speed ramps, use a slower setting for dense questions and a slightly quicker one for short transitional lines.
Technical hiccups mid-interview and quick fixes
Devices sleep, batteries drain, and apps refresh at the worst moment. Prevent most of this with a simple pre-flight: disable auto-lock, plug into power or use a fresh battery, and turn off notifications. If a failure happens mid-session, keep talking — cover the gap with a bridge line such as “let me come back to that question” while someone resets the prompter, or switch to printed notes as a backup. Reliability advice for these situations appears in Avoiding Common Mistakes with Teleprompters for Video Formats.
Applying Interview Techniques to Other Video Work
The habits you build for interviews transfer almost completely. Short lines, conversational phrasing, marked pauses, and a rehearsed eye-line rhythm are format-independent skills — they help whenever text needs to sound like speech. That is why hosts who master one format often find they need only minor adjustments for the next. The workflow itself can be standardized: script structure, rehearsal checklist, technical pre-flight, and post-take review work the same way whether the camera faces a guest or a lens.
Consider how each format uses those habits differently. Presentations lean on longer passages but reward the same disciplined line breaks; vlogs benefit from cue words rather than full sentences, since the goal is a relaxed, off-the-cuff feel. For a deeper look at how prompting behaves across formats, Understanding Teleprompters for Video Formats: A Complete Guide explains the underlying mechanics, and Practical Ways to Use a Teleprompter for Video Formats offers hands-on applications you can adapt today.
Using the same script structure for presentations
A presentation script is essentially a long interview question set with your own answers attached. Keep the same section markers, the same bracketed optional passages, and the same short-line discipline. Where interviews use follow-up cues, presentations use transition cues — reminders to advance a slide, pause for a point to land, or invite a question. Practicing with the presentation-specific guidance in our workflow guide helps you reuse the structure rather than rebuild it each time.
Transferring pacing skills to vlogging
Vlogs punish rigid delivery more than any other format, so the pacing work you did for interviews pays off directly. Because vlogging scripts are usually lighter — bullet cues rather than full lines — your scroll speed can be slower and your glances brievery. The rehearsal habit of recording a test take applies identically: watch yourself, check whether the cadence feels conversational, and adjust before the real recording. If you want to push further, Maximizing Your Teleprompter for Video Formats: Best Practices covers refinement techniques that scale across formats.
Building a reusable workflow across formats
Treat your interview process as a template: a script outline with markers, a positioning standard relative to the lens, a rehearsal checklist covering speed and eye contact, a technical pre-flight, and a short review pass. Save that template and reuse it, swapping only the content. Over a few productions this becomes second nature, and the equipment fades into the background where it belongs. For format-specific variations on the same template, our companion resources cover the details you will need as your projects diversify.
Conclusion
Using a teleprompter for interviews is less about reading and more about staying prepared while remaining fully present. Start with a setup that keeps the text near the lens, write questions in short conversational lines, rehearse your pacing with a quick test take, and give yourself permission to deviate when the conversation takes a better turn. The equipment should never become the story — it should sit quietly between you and your camera, holding structure while you hold the room. With consistent practice, the prompter becomes an invisible aid that supports your natural delivery across interviews, presentations, and vlogs alike. Pick one interview this week, apply the setup and scripting steps above, and record a short test run; that single repetition will teach you more than any amount of reading.
Frequently asked questions
Will a teleprompter make my interview look scripted or stiff?
It can, if you read it verbatim. The fix is to write the prompter text as bullet prompts and short spoken phrases rather than full sentences, so you stay conversational while hitting every point. Practicing once out loud before the camera also smooths out the eye-line so the delivery feels natural.
Where should the teleprompter be positioned for a talking-head interview?
Mount it as close to the lens as possible, ideally a beam-splitter glass directly in front of the camera, so your eyes never drift more than a few degrees from the lens. If you use an off-camera tablet or laptop stand, keep it just beside or below the lens and accept a slight eye offset. Raising or lowering the text matters less than keeping it near the lens axis.
What scroll speed and font size work best on camera?
Set the speed slightly slower than your comfortable speaking pace so you can pause and improvise without falling behind, then adjust as you warm up. Use a large, high-contrast font with generous line spacing so you never lose your place when you glance away to listen to the guest. Most prompter apps let you control speed live with a foot pedal or keyboard.
Can a remote or in-person guest use a teleprompter too?
Yes, but it usually works better to give guests talking points or a short pre-interview call instead of a full script, since they rarely have prompter experience. If a guest does read, hand them the same setup you use and rehearse briefly so their pacing matches yours. For remote guests, a tablet clamped near their webcam is the simplest option.
How do I keep genuine eye contact and reactions with the guest while using a prompter?
Split the workflow: use the prompter only for your intros, transitions, and outro, and go off-script during the actual conversation. Mark those sections clearly in the text so you know when to close the prompter or look at the guest. Listening actively and leaving room for follow-up questions is what keeps the interview from sounding pre-recorded.
Do I need a special camera or software to run a teleprompter?
No. Any tablet or phone running a prompter app, placed near your lens, is enough for most interviews. A beam-splitter rig is worth it only if you do long solo segments or need the eyes perfectly on-lens, and you can drive the scrolling with a remote, foot pedal, or voice-follow mode so your hands stay free.
Recording with a script? Try Lumi.
Keep your script near the camera and out of your final video. Try free for 3 days.
Learn more